
People
Documents, and the AI that reads them
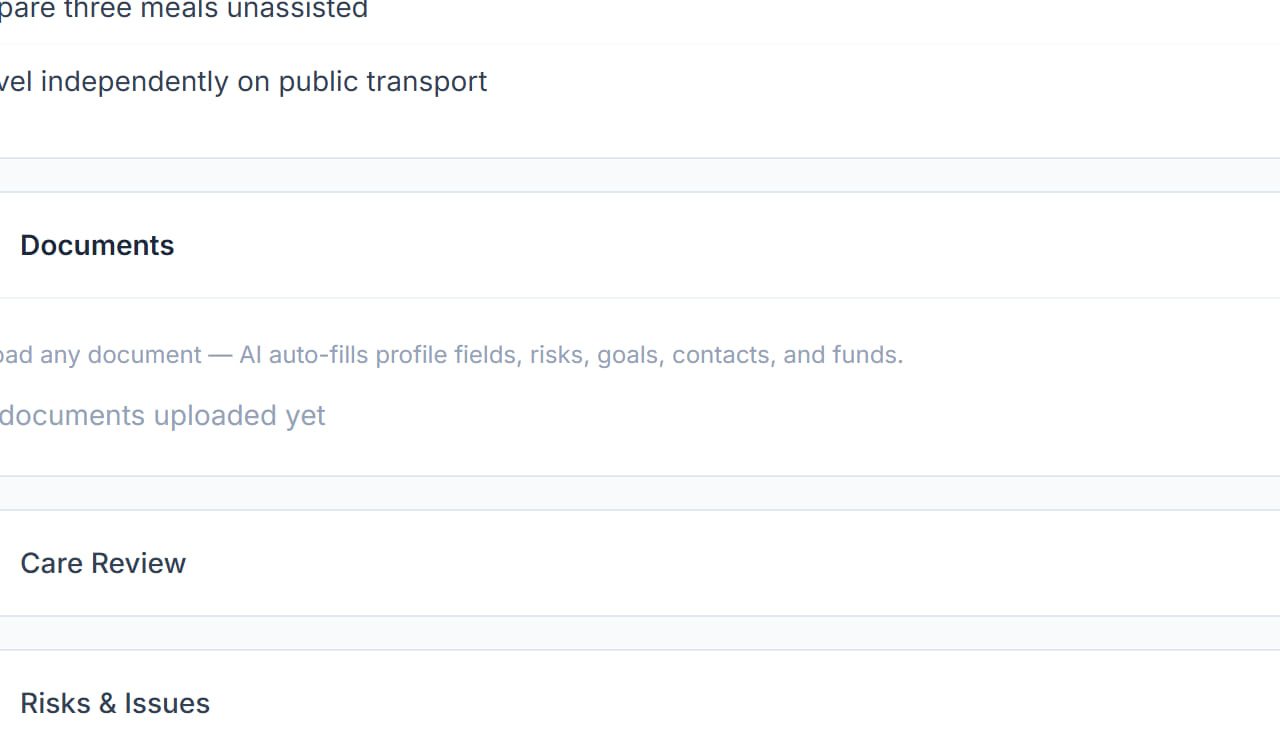
Files that belong to this participant — the NDIS plan, service agreements, consents, risk assessments, letters. The panel does more than store them: as it says on screen, upload any document and the AI auto-fills profile fields, risks, goals, contacts and funds from what it reads.
Step by step
- 1
Open the participant and scroll to the Documents panel on the Overview tab. The Documents tab at the top shows the same files without the upload panel.

- 2
Click Upload + AI, or drag a file onto the panel.

- 3
Choose the file — a plan, an assessment, a service agreement. PDFs and Word documents both work.
- 4
Let it read. The AI pulls out what it recognises and offers to fill in profile fields, risks, goals, contacts and funding, rather than you keying a plan in by hand.
- 5
Read what it proposes before accepting. It is a first draft from a document, not a decision — check the NDIS number, the plan dates and any funding figures against the document itself.
- 6
Accept what is right and correct what is not. Nothing is written to the record until you accept it.
- 7
Set the document category and its expiry date if it has one. The expiry is what makes Rostery warn you before a consent or an agreement lapses.
- 8
Save.
The screen
Did this answer your question?
If not, talk to us — we answer from Australia, in business hours.