
People
Client Overview
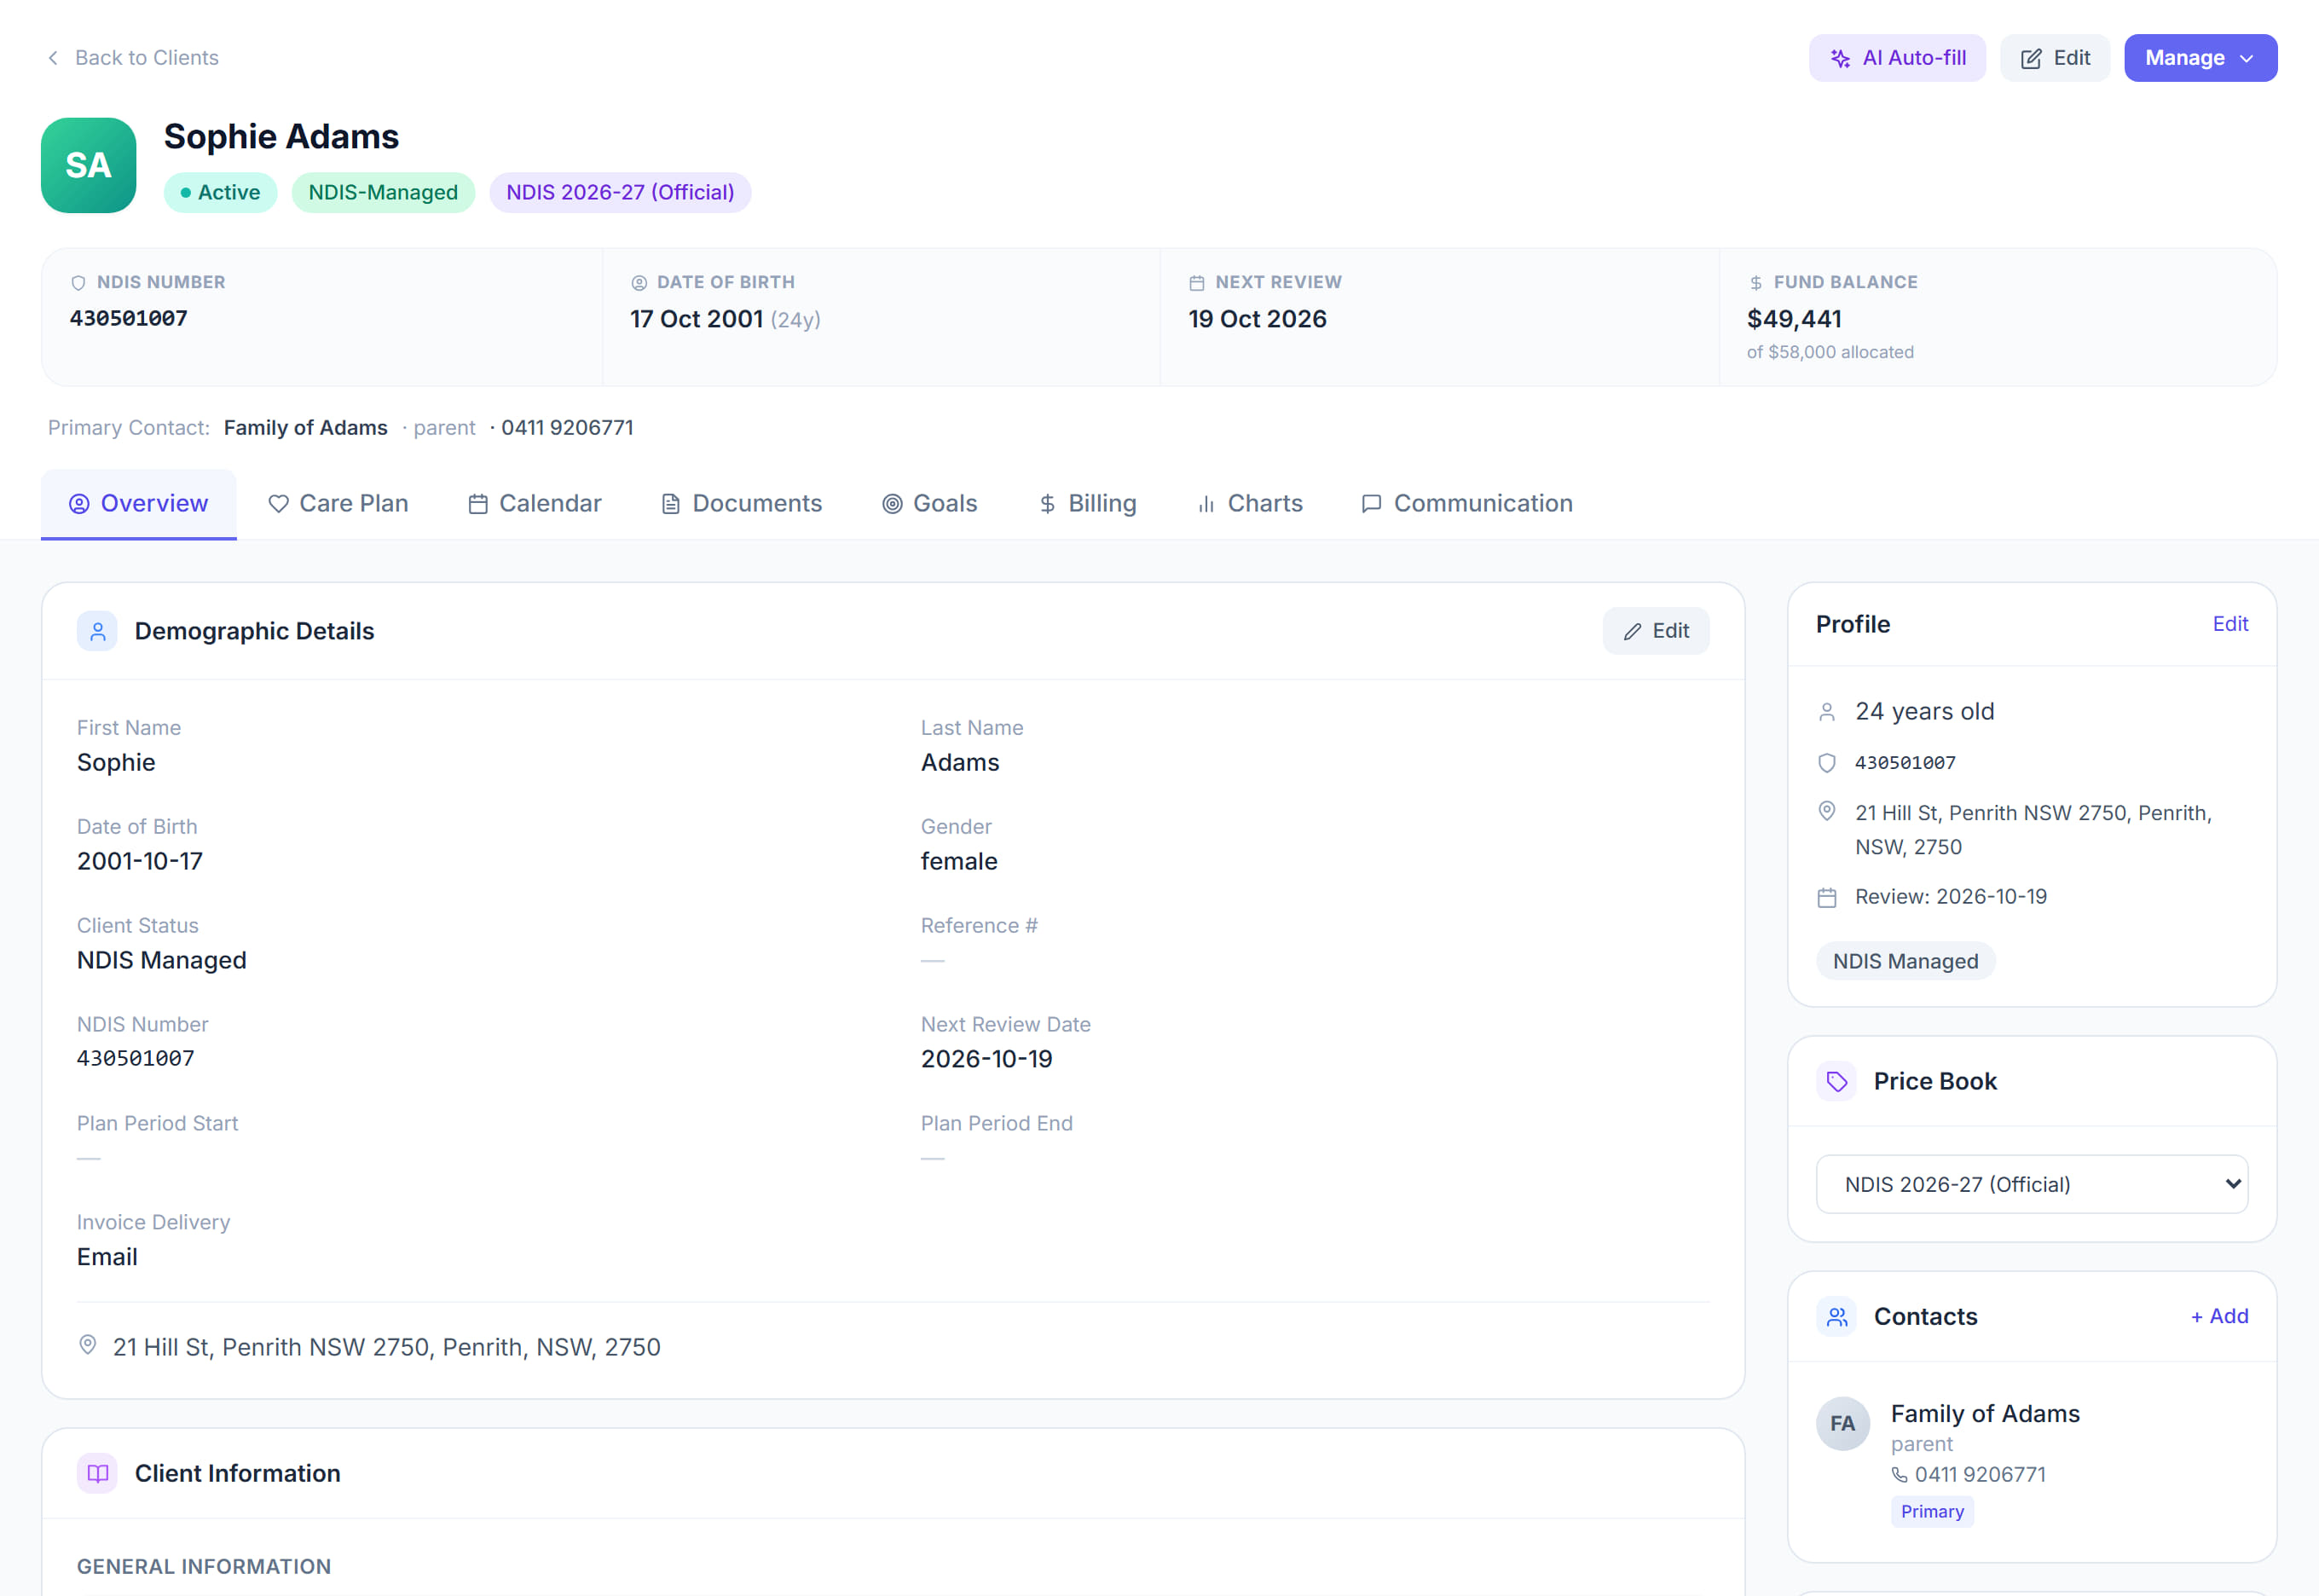
Everything identifying the participant in one place: their name and date of birth, NDIS number, plan period, status and how they want invoices delivered. This is the first screen you land on when you open somebody, and the details here feed the rest of Rostery — the NDIS number goes onto every claim, and the plan period decides whether a service date is fundable at all.
Step by step
- 1
Go to All Clients in the left menu and click the participant you want.
- 2
The Overview tab opens first. Read down the details panel to check the record is the right person before you change anything.
- 3
Click Edit to change any of it.
- 4
Check the NDIS Number carefully — a wrong digit here fails at the NDIA, not in Rostery, so you will not find out until a claim is rejected.

- 5
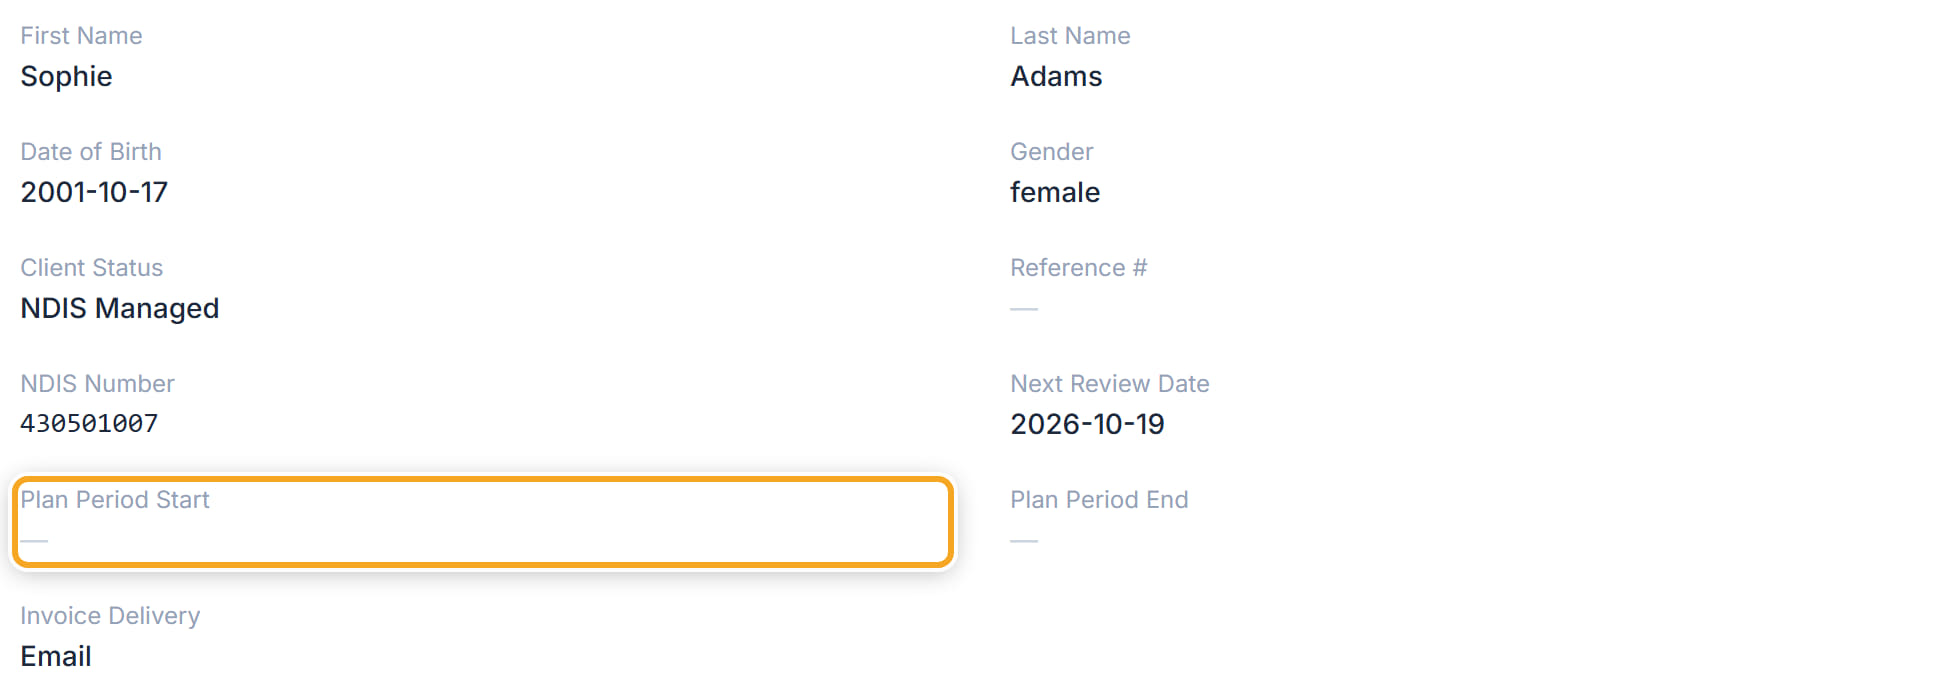
Check the Plan Period Start and Plan Period End. A service dated outside that window cannot be claimed.
- 6
Set Invoice Delivery to however this participant is billed — email, post, the portal, or by hand.
- 7
Click Save.
The screen
Did this answer your question?
If not, talk to us — we answer from Australia, in business hours.