
People
All Clients
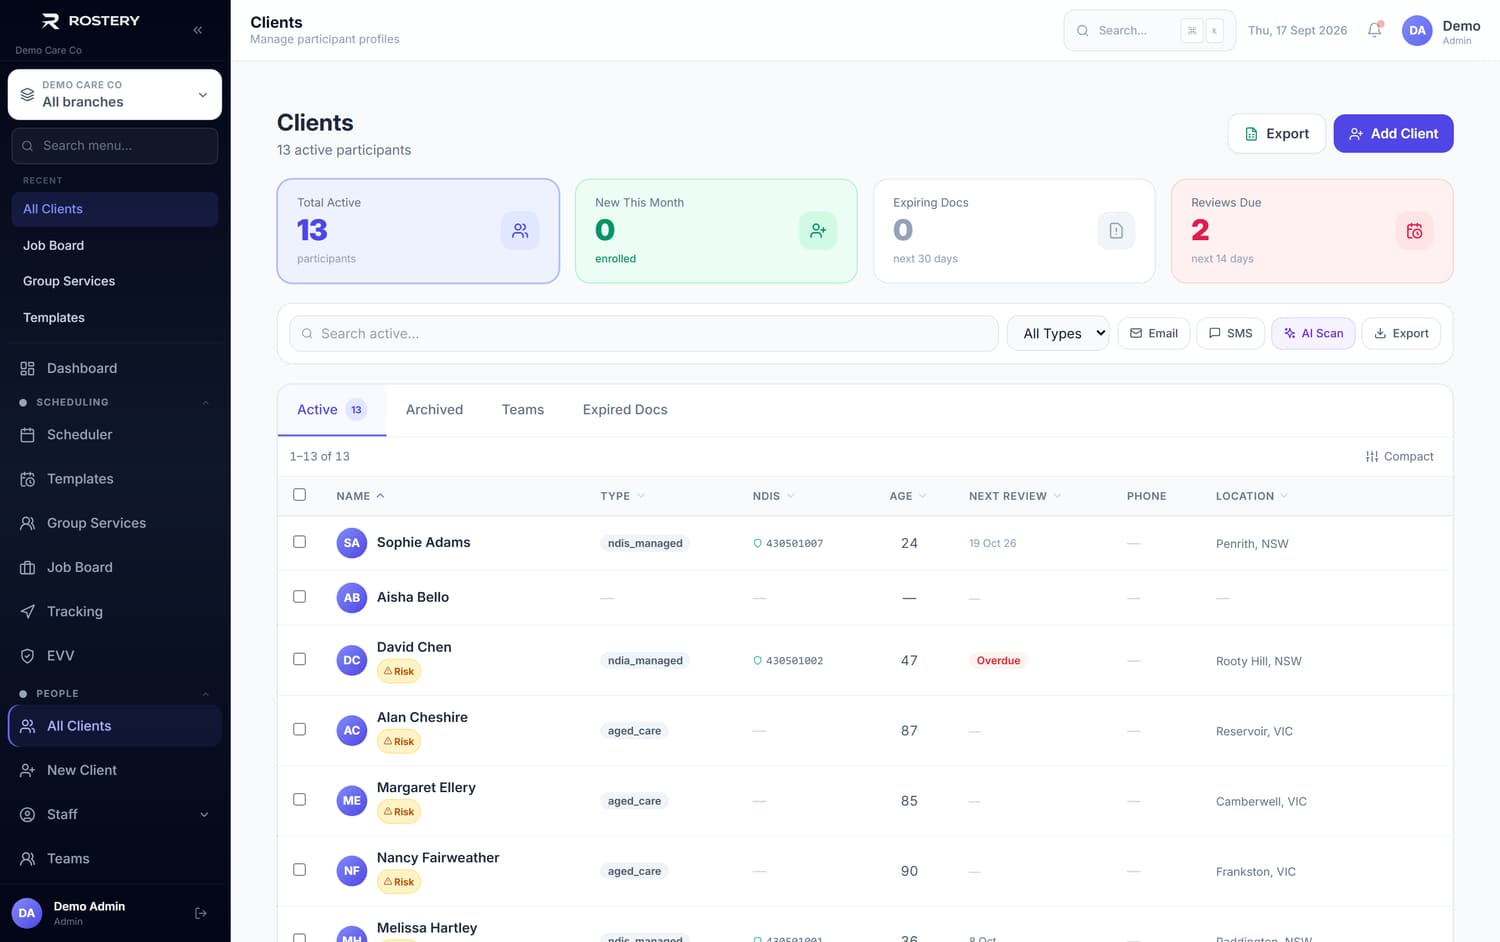
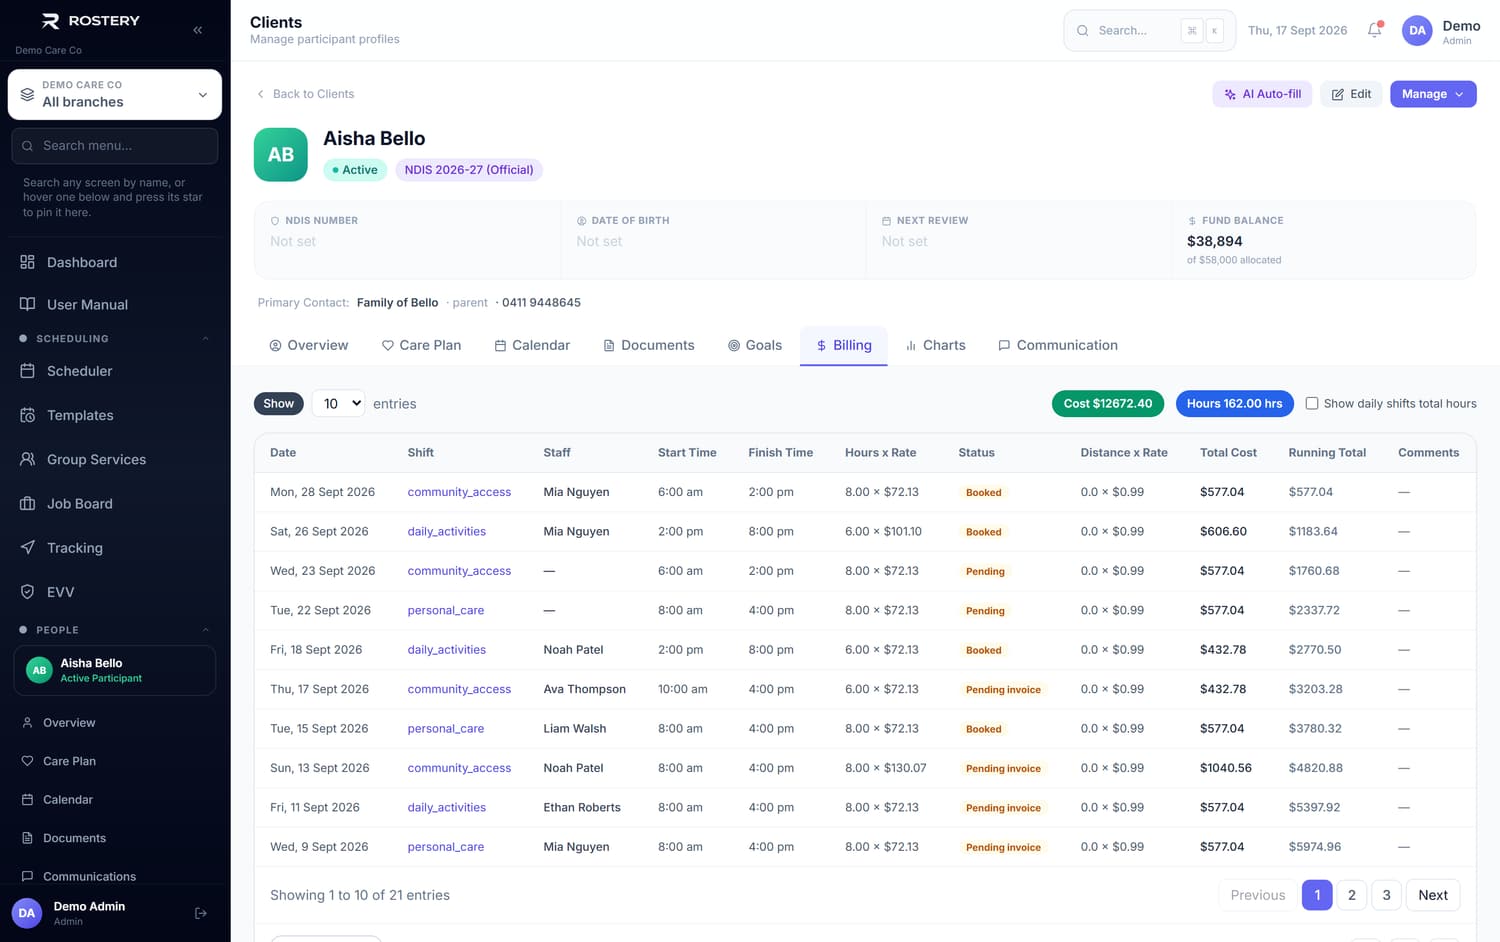
/clients11 stepsEvery participant you support. This record is the spine of the system — the roster, funding, billing, notes, incidents and compliance all hang off it, so what is entered here decides what works everywhere else.
Step by step
- 1
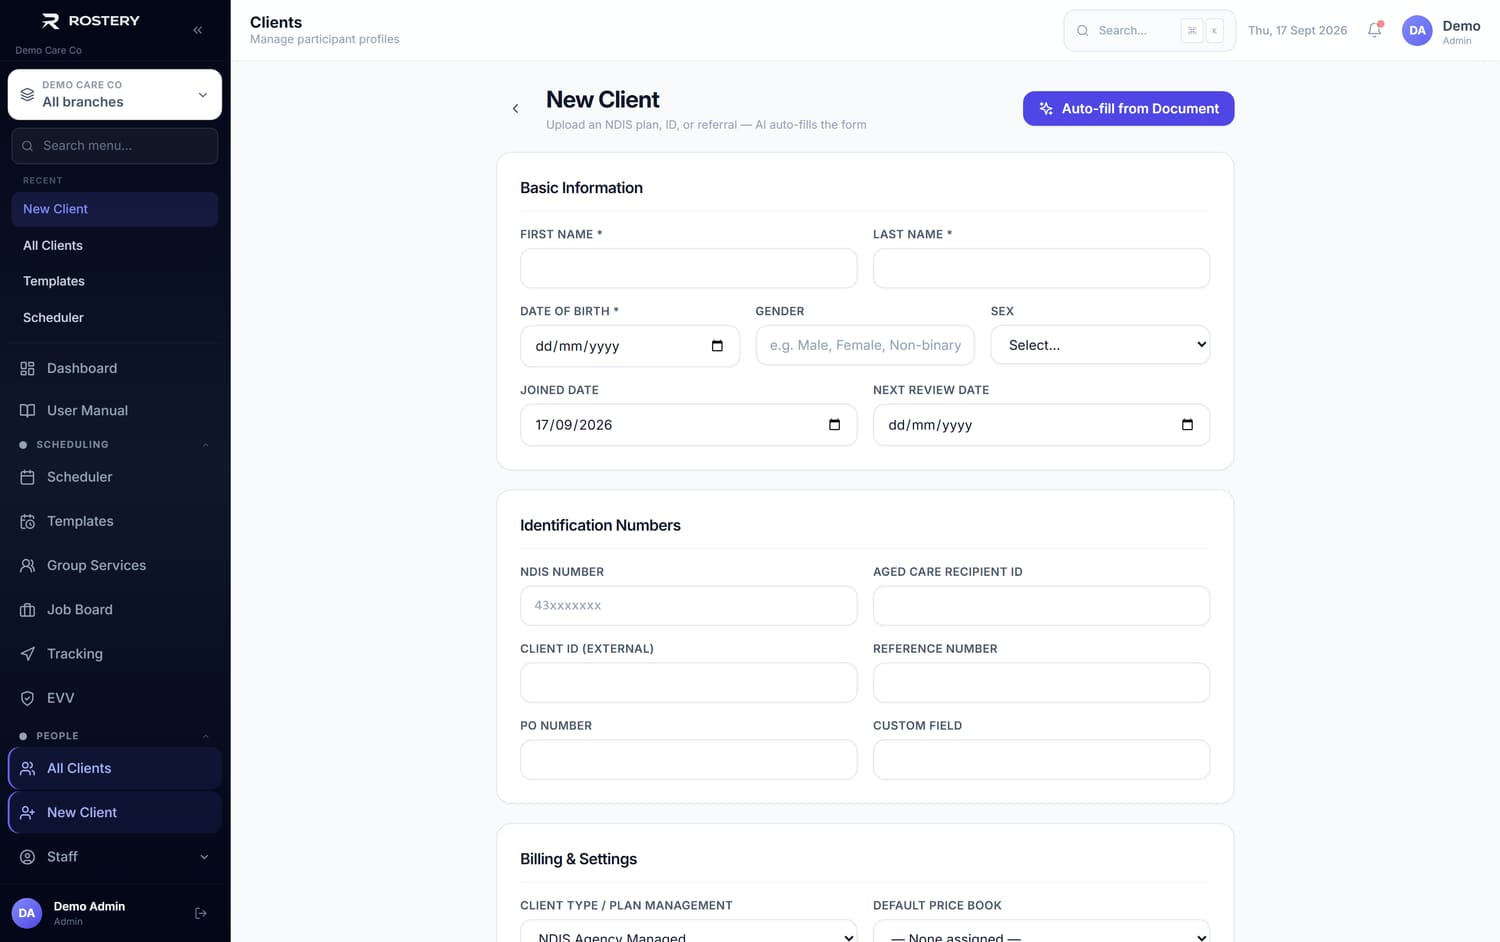
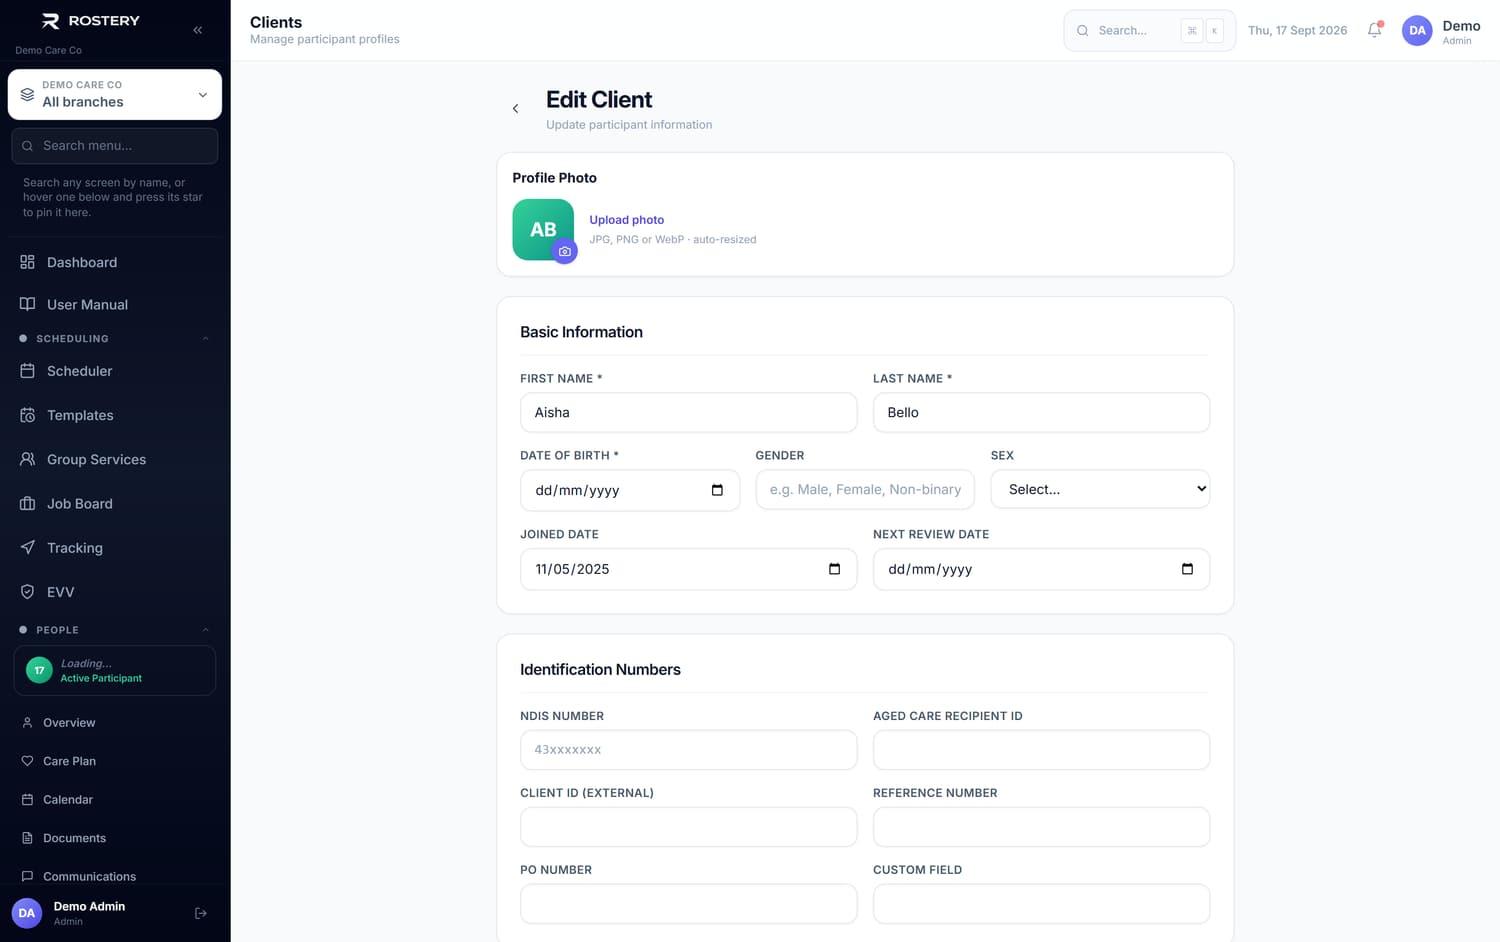
Create a participant with New Client. First name, last name and date of birth are required; NDIS Number and Reference # identify them everywhere else and should go in at the same time.
- 2
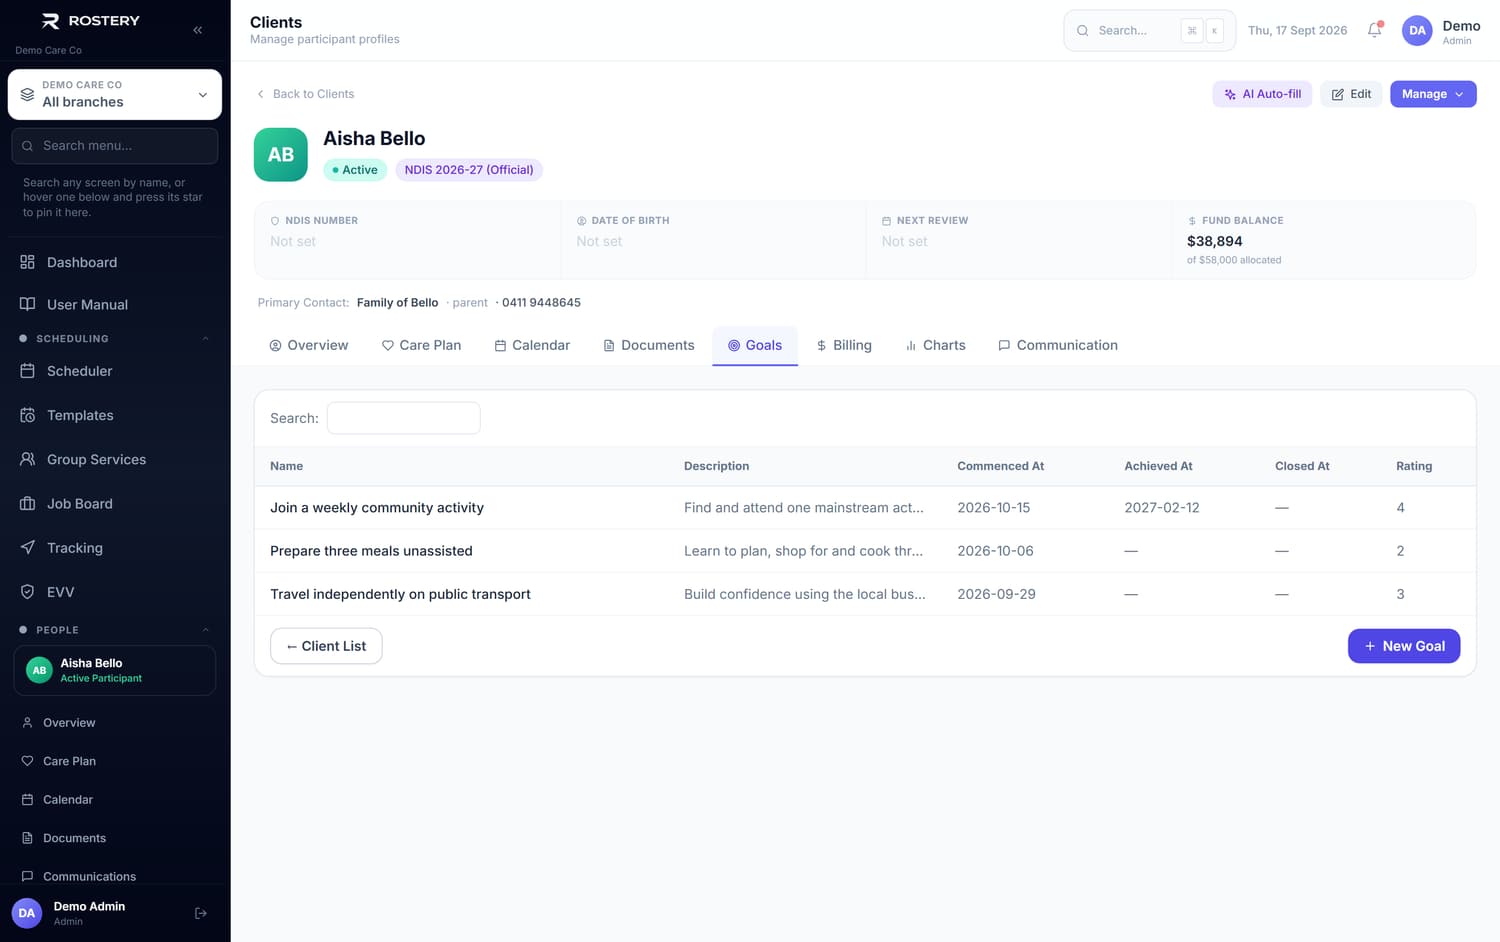
Set Client Status and the plan dates — Plan Period Start and Plan Period End. These drive funding checks and the expiry reporting, so a plan with no end date never warns you that it is running out.
- 3
Choose the service type carefully. Plan Management, Support Coordination and general delivery are kept apart on purpose, and each module only offers its own participants in its pickers. Getting this wrong is why a participant sometimes "does not appear" in a list.
- 4
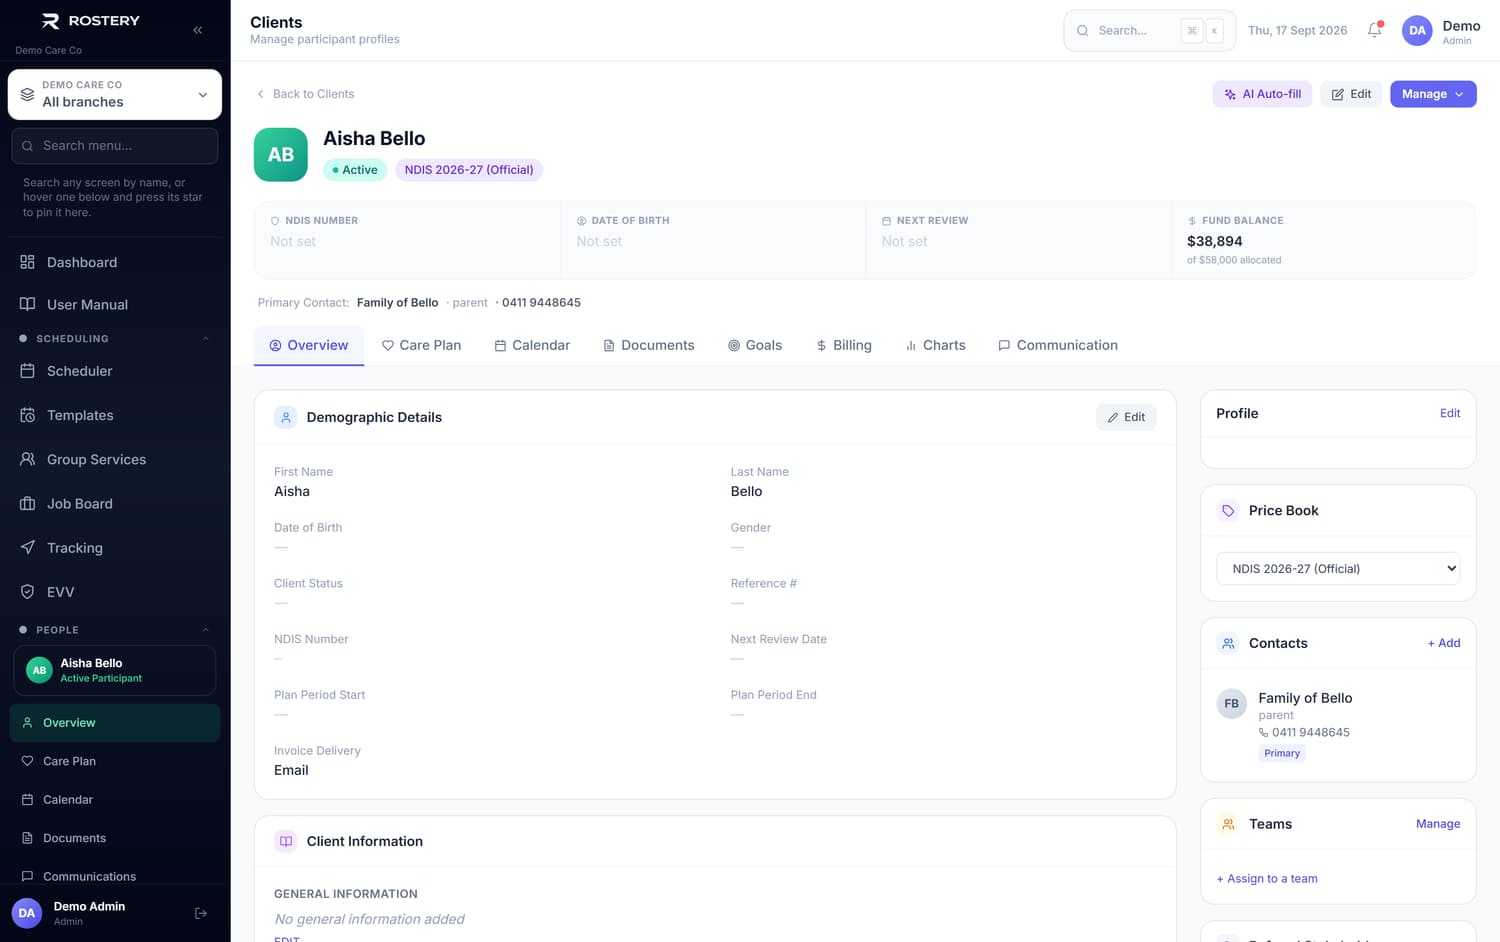
Add contacts. A participant with no email and no mobile cannot be sent an invoice for approval and cannot be invited to the portal — the button will simply tell you there is nothing to send to.
- 5
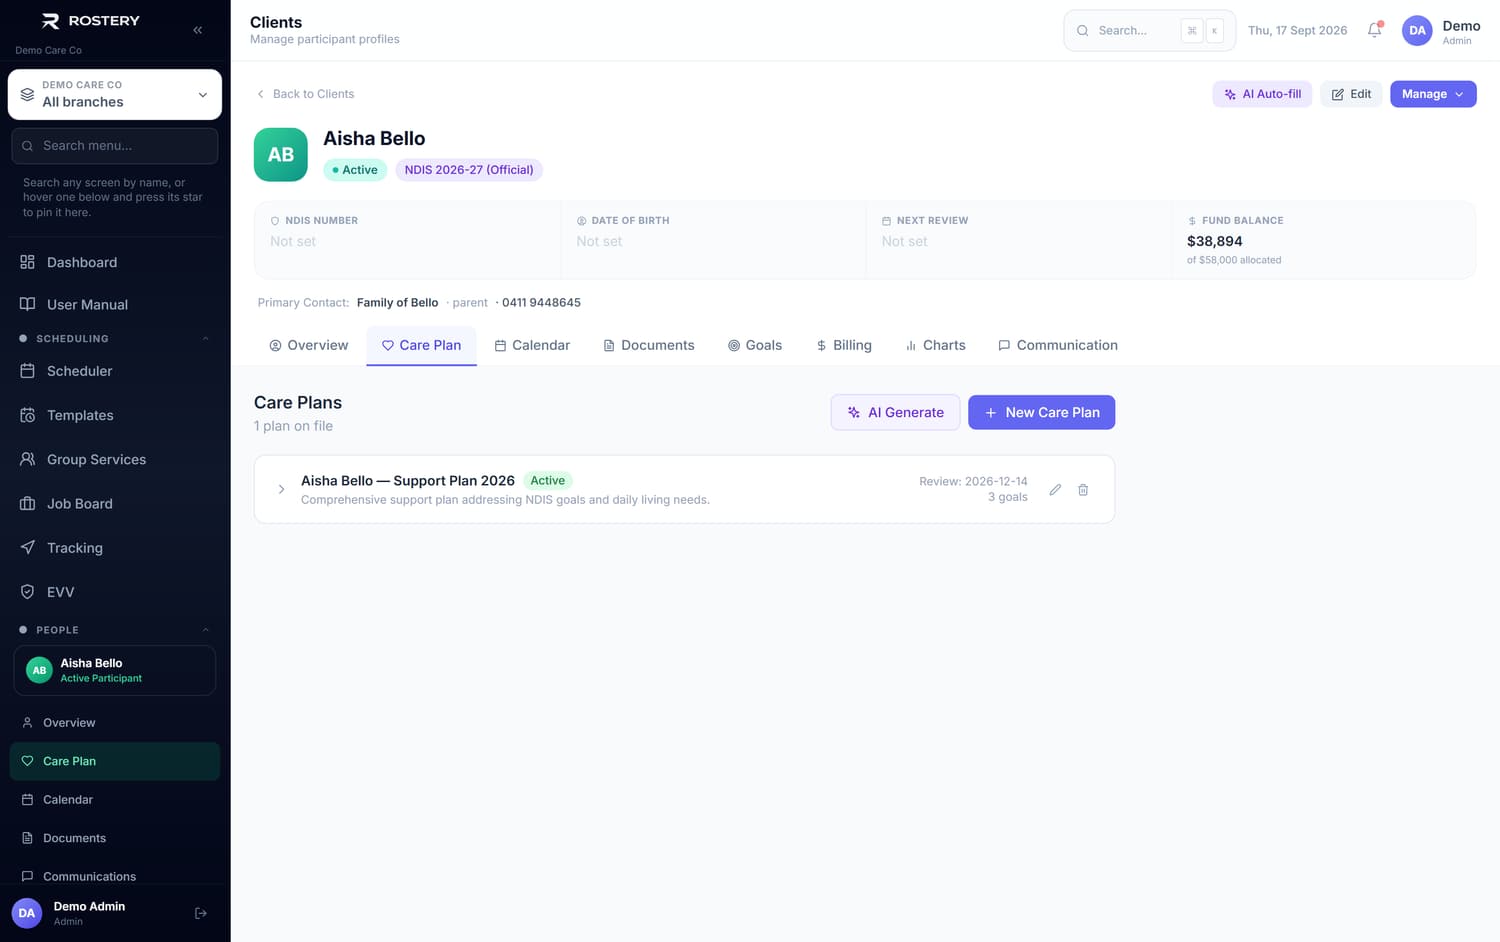
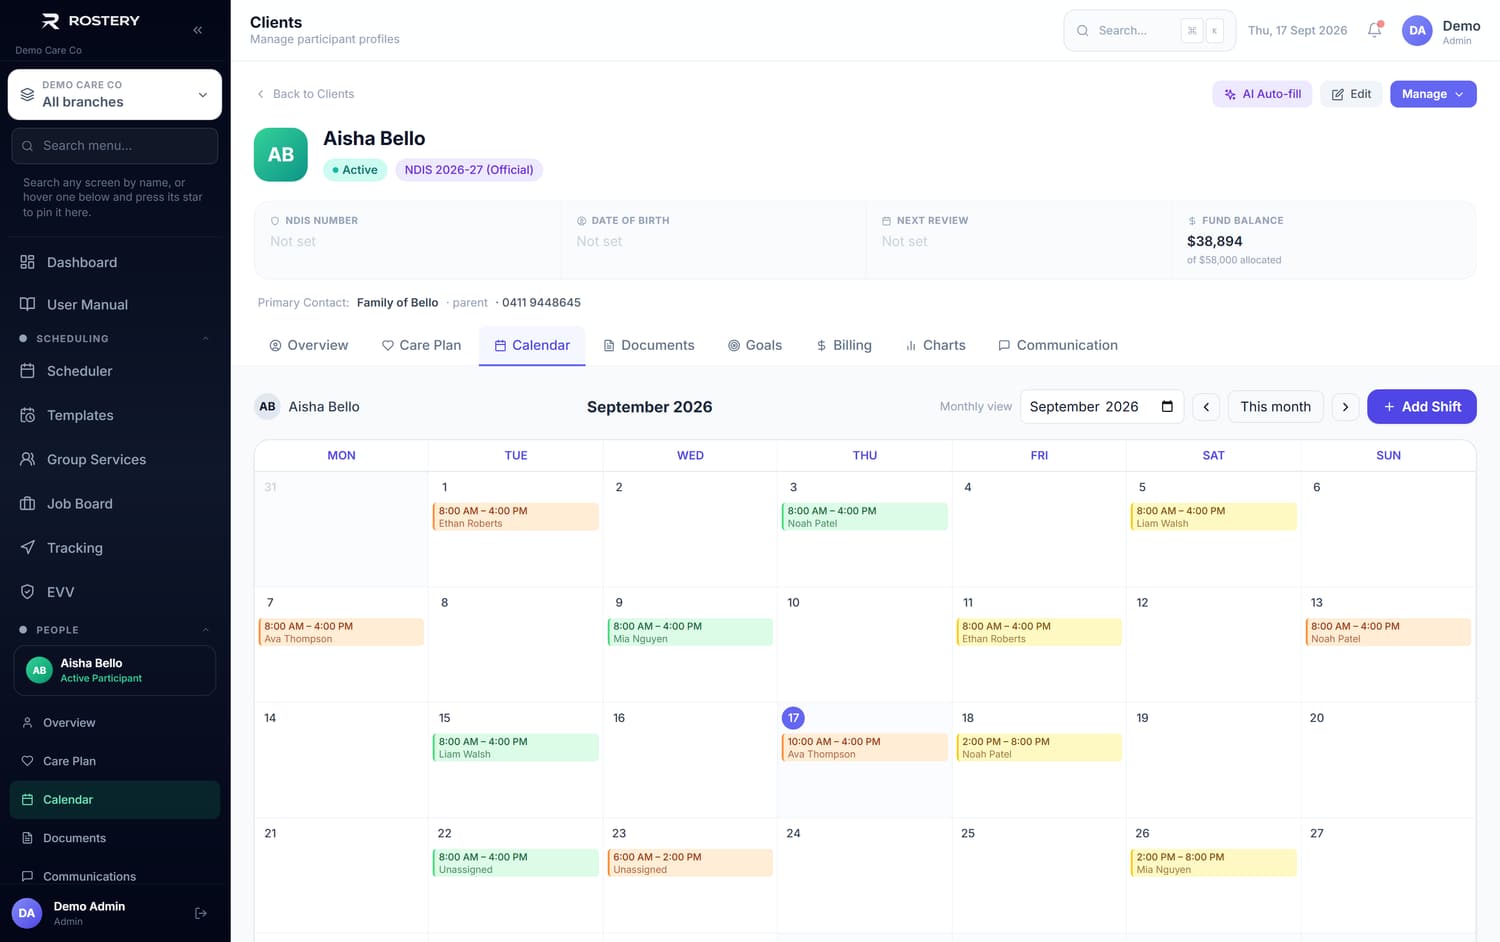
Fill the care sections from the participant’s profile: Diagnoses / Conditions, Behavioural Notes, Known Triggers, Coping Strategies, and the sensory and communication fields. These are what a worker reads before a shift, and what the AI brief is built from.
- 6
Record the home details — Home Type, Living Arrangement, Access / Entry Notes, Pets, Mobility Aids, Home Modifications. Access notes matter more than they look: they are what stops a new worker standing at the wrong door.
- 7
Set Support Needs on the participant. These are what Qualification Match ranks workers against, so a participant with no support needs recorded will match every worker equally and the ranking will tell you nothing.
- 8
Attach the price book if this participant is charged at something other than your default, using the price book selector on the profile.
- 9
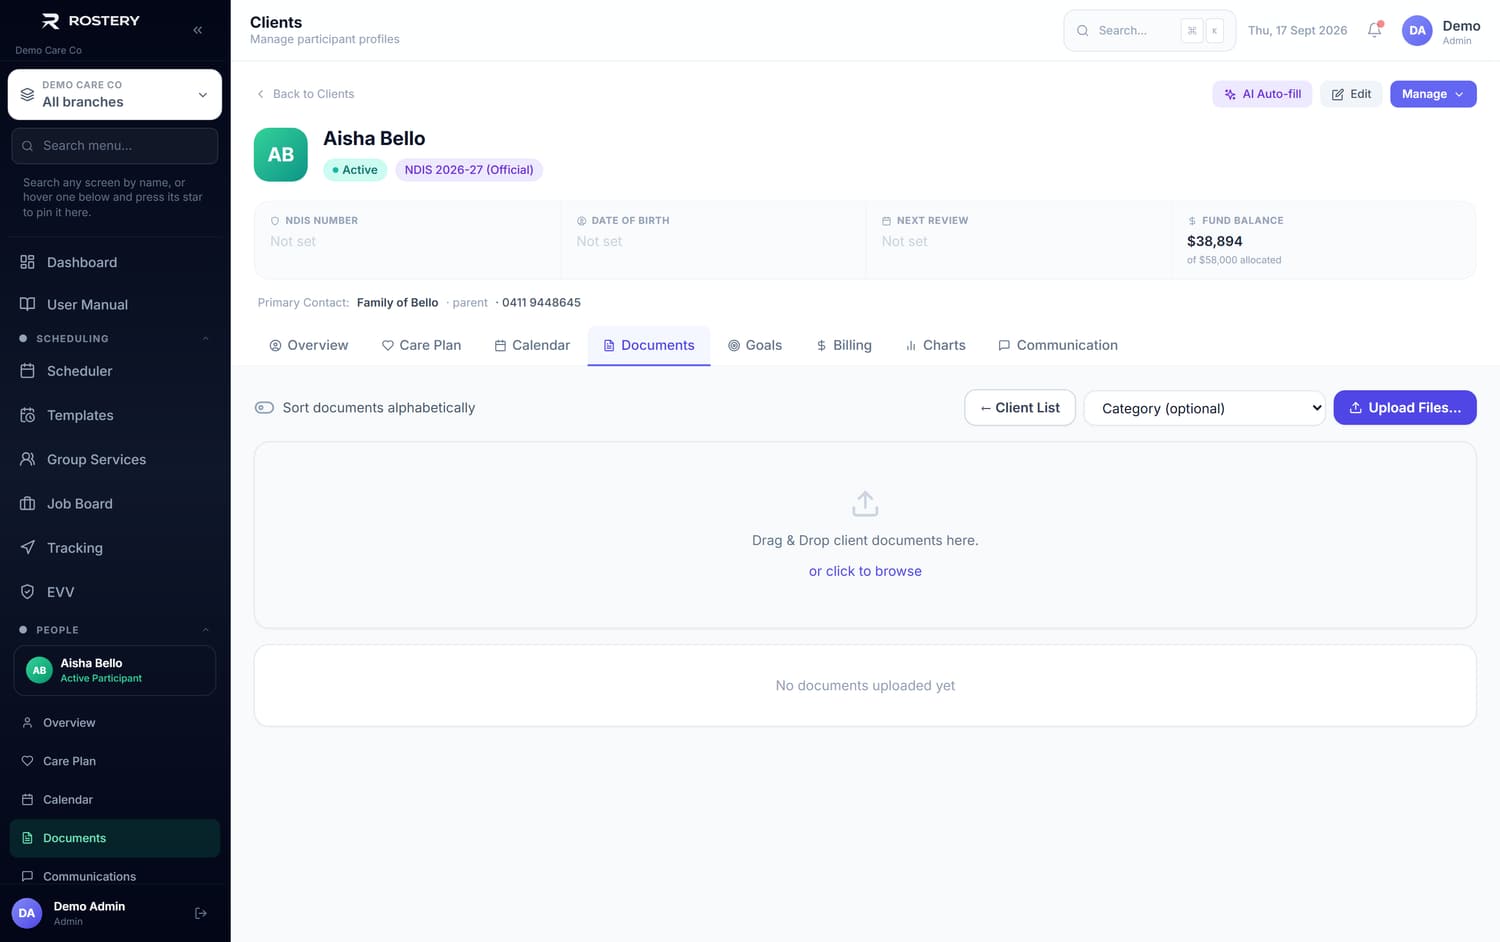
Upload documents — the NDIS plan, the service agreement, consents, risk assessments — and set an expiry date on each. Anything approaching expiry is surfaced on the dashboard and in the compliance reports.
- 10
Set the Next Review Date and record reviews as they happen with Review Type, Reviewed By and Review Notes.
- 11
Use the audit log on the record to see who changed what and when. It is the answer to "who edited this" without anyone having to remember.
The screen
Did this answer your question?
If not, talk to us — we answer from Australia, in business hours.