
Admin & Settings
Locations and branches
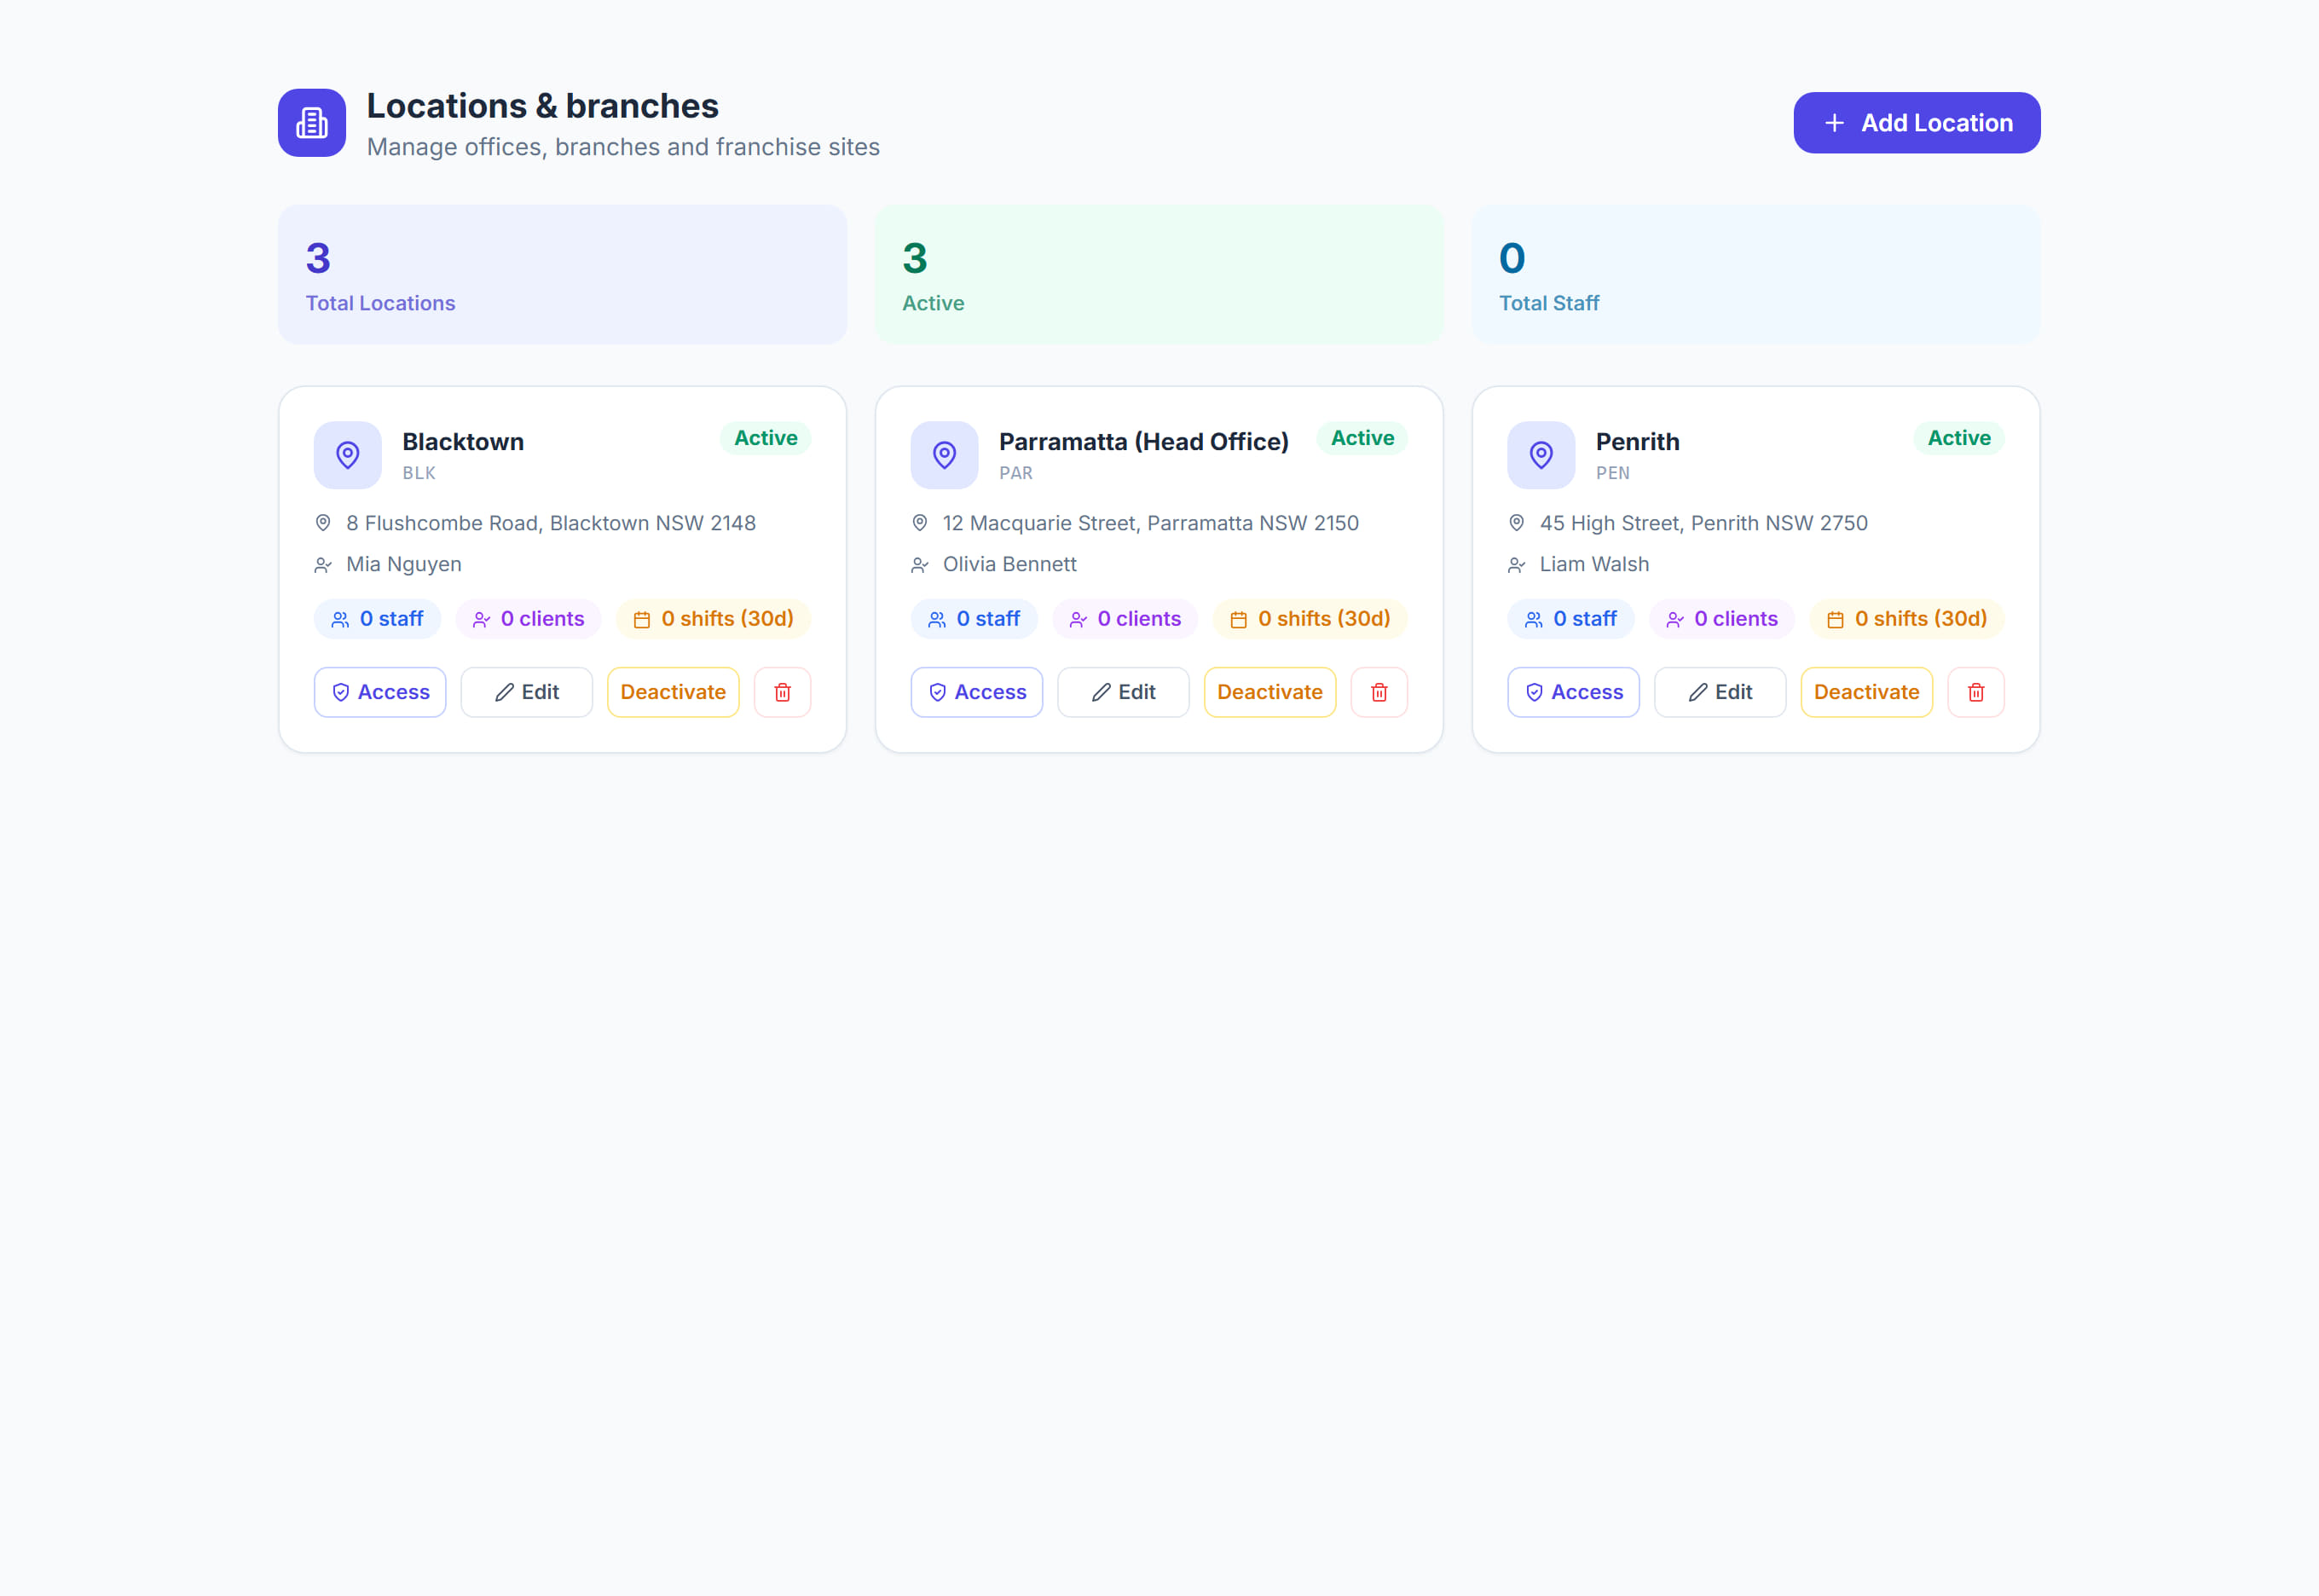
/settings/locations5 stepsYour sites. A location is more than an address: it acts as a lens over the whole app, so a branch can see its own roster, its own participants and its own reports without the rest.
Step by step
- 1
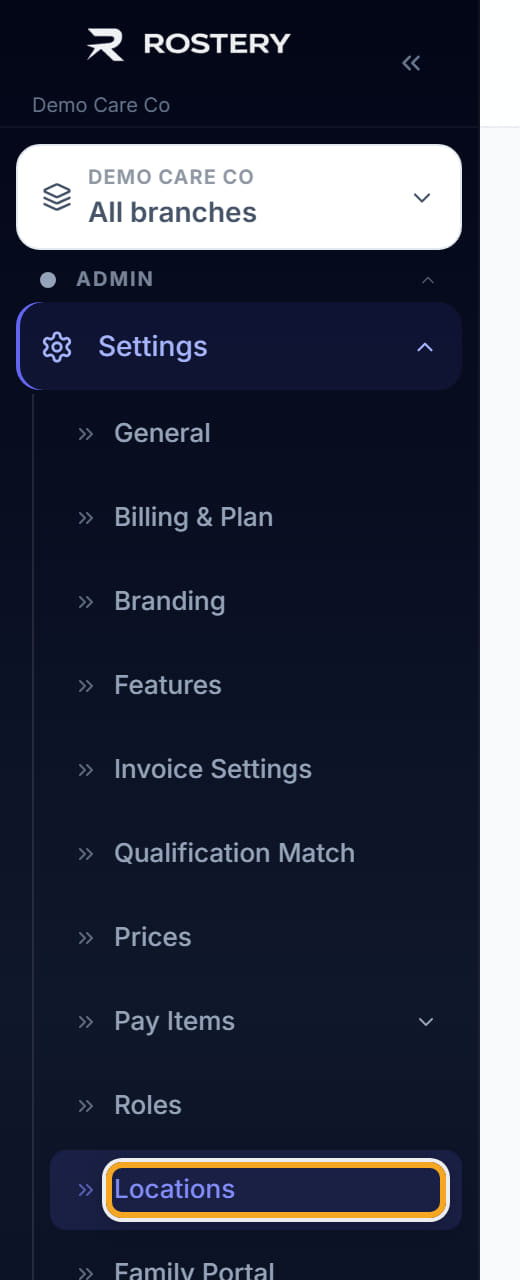
Open Settings, then Locations & branches.
- 2
Click Add Location and give it a name and address.

- 3
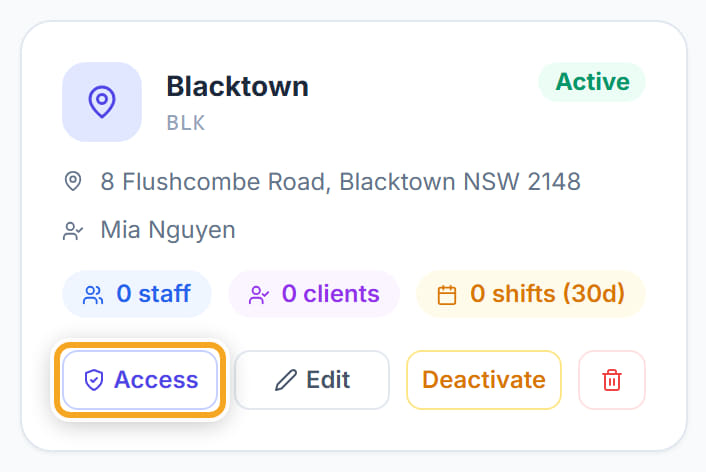
Use Access to say which users can see that branch.
- 4
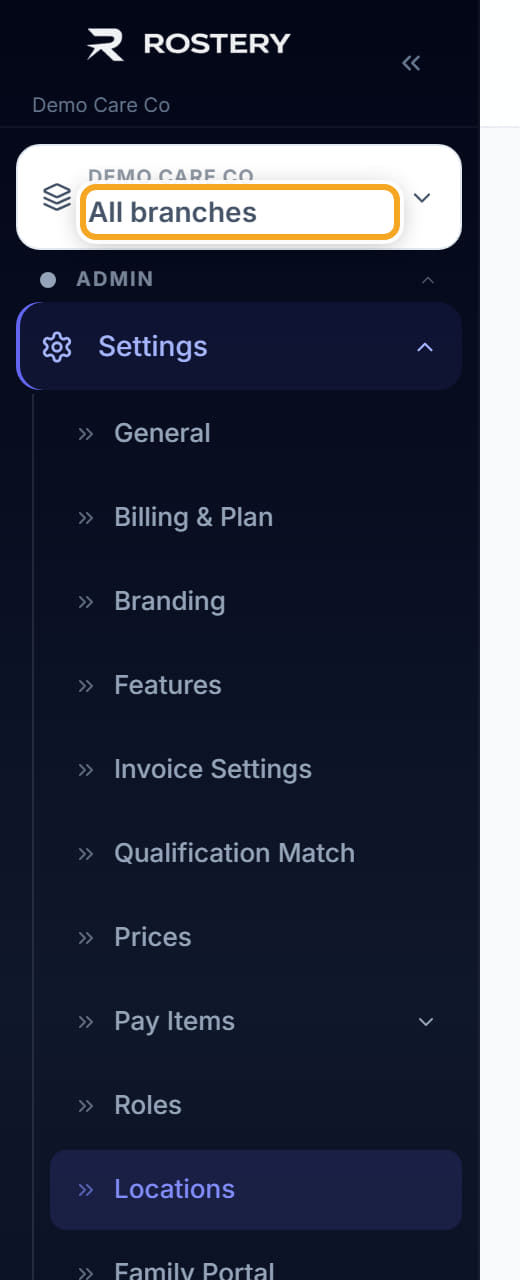
Switch branches with the selector at the top of the left menu — "All branches" shows everything.
- 5
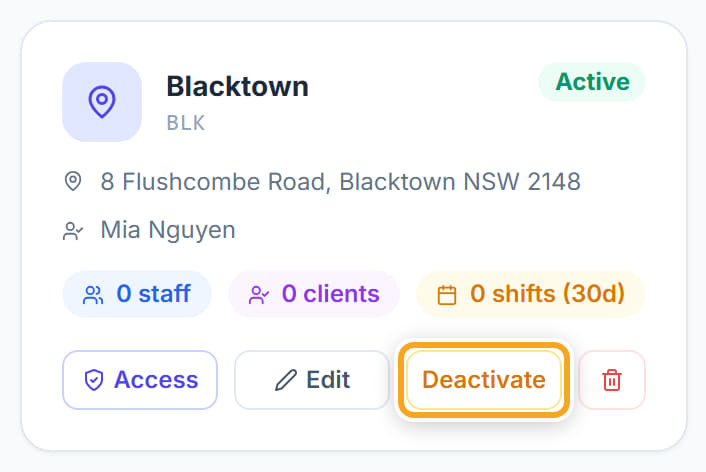
Use Edit to change a location, and Deactivate for one you no longer operate rather than deleting it.
The screen
Did this answer your question?
If not, talk to us — we answer from Australia, in business hours.