
Admin & Settings
Branding
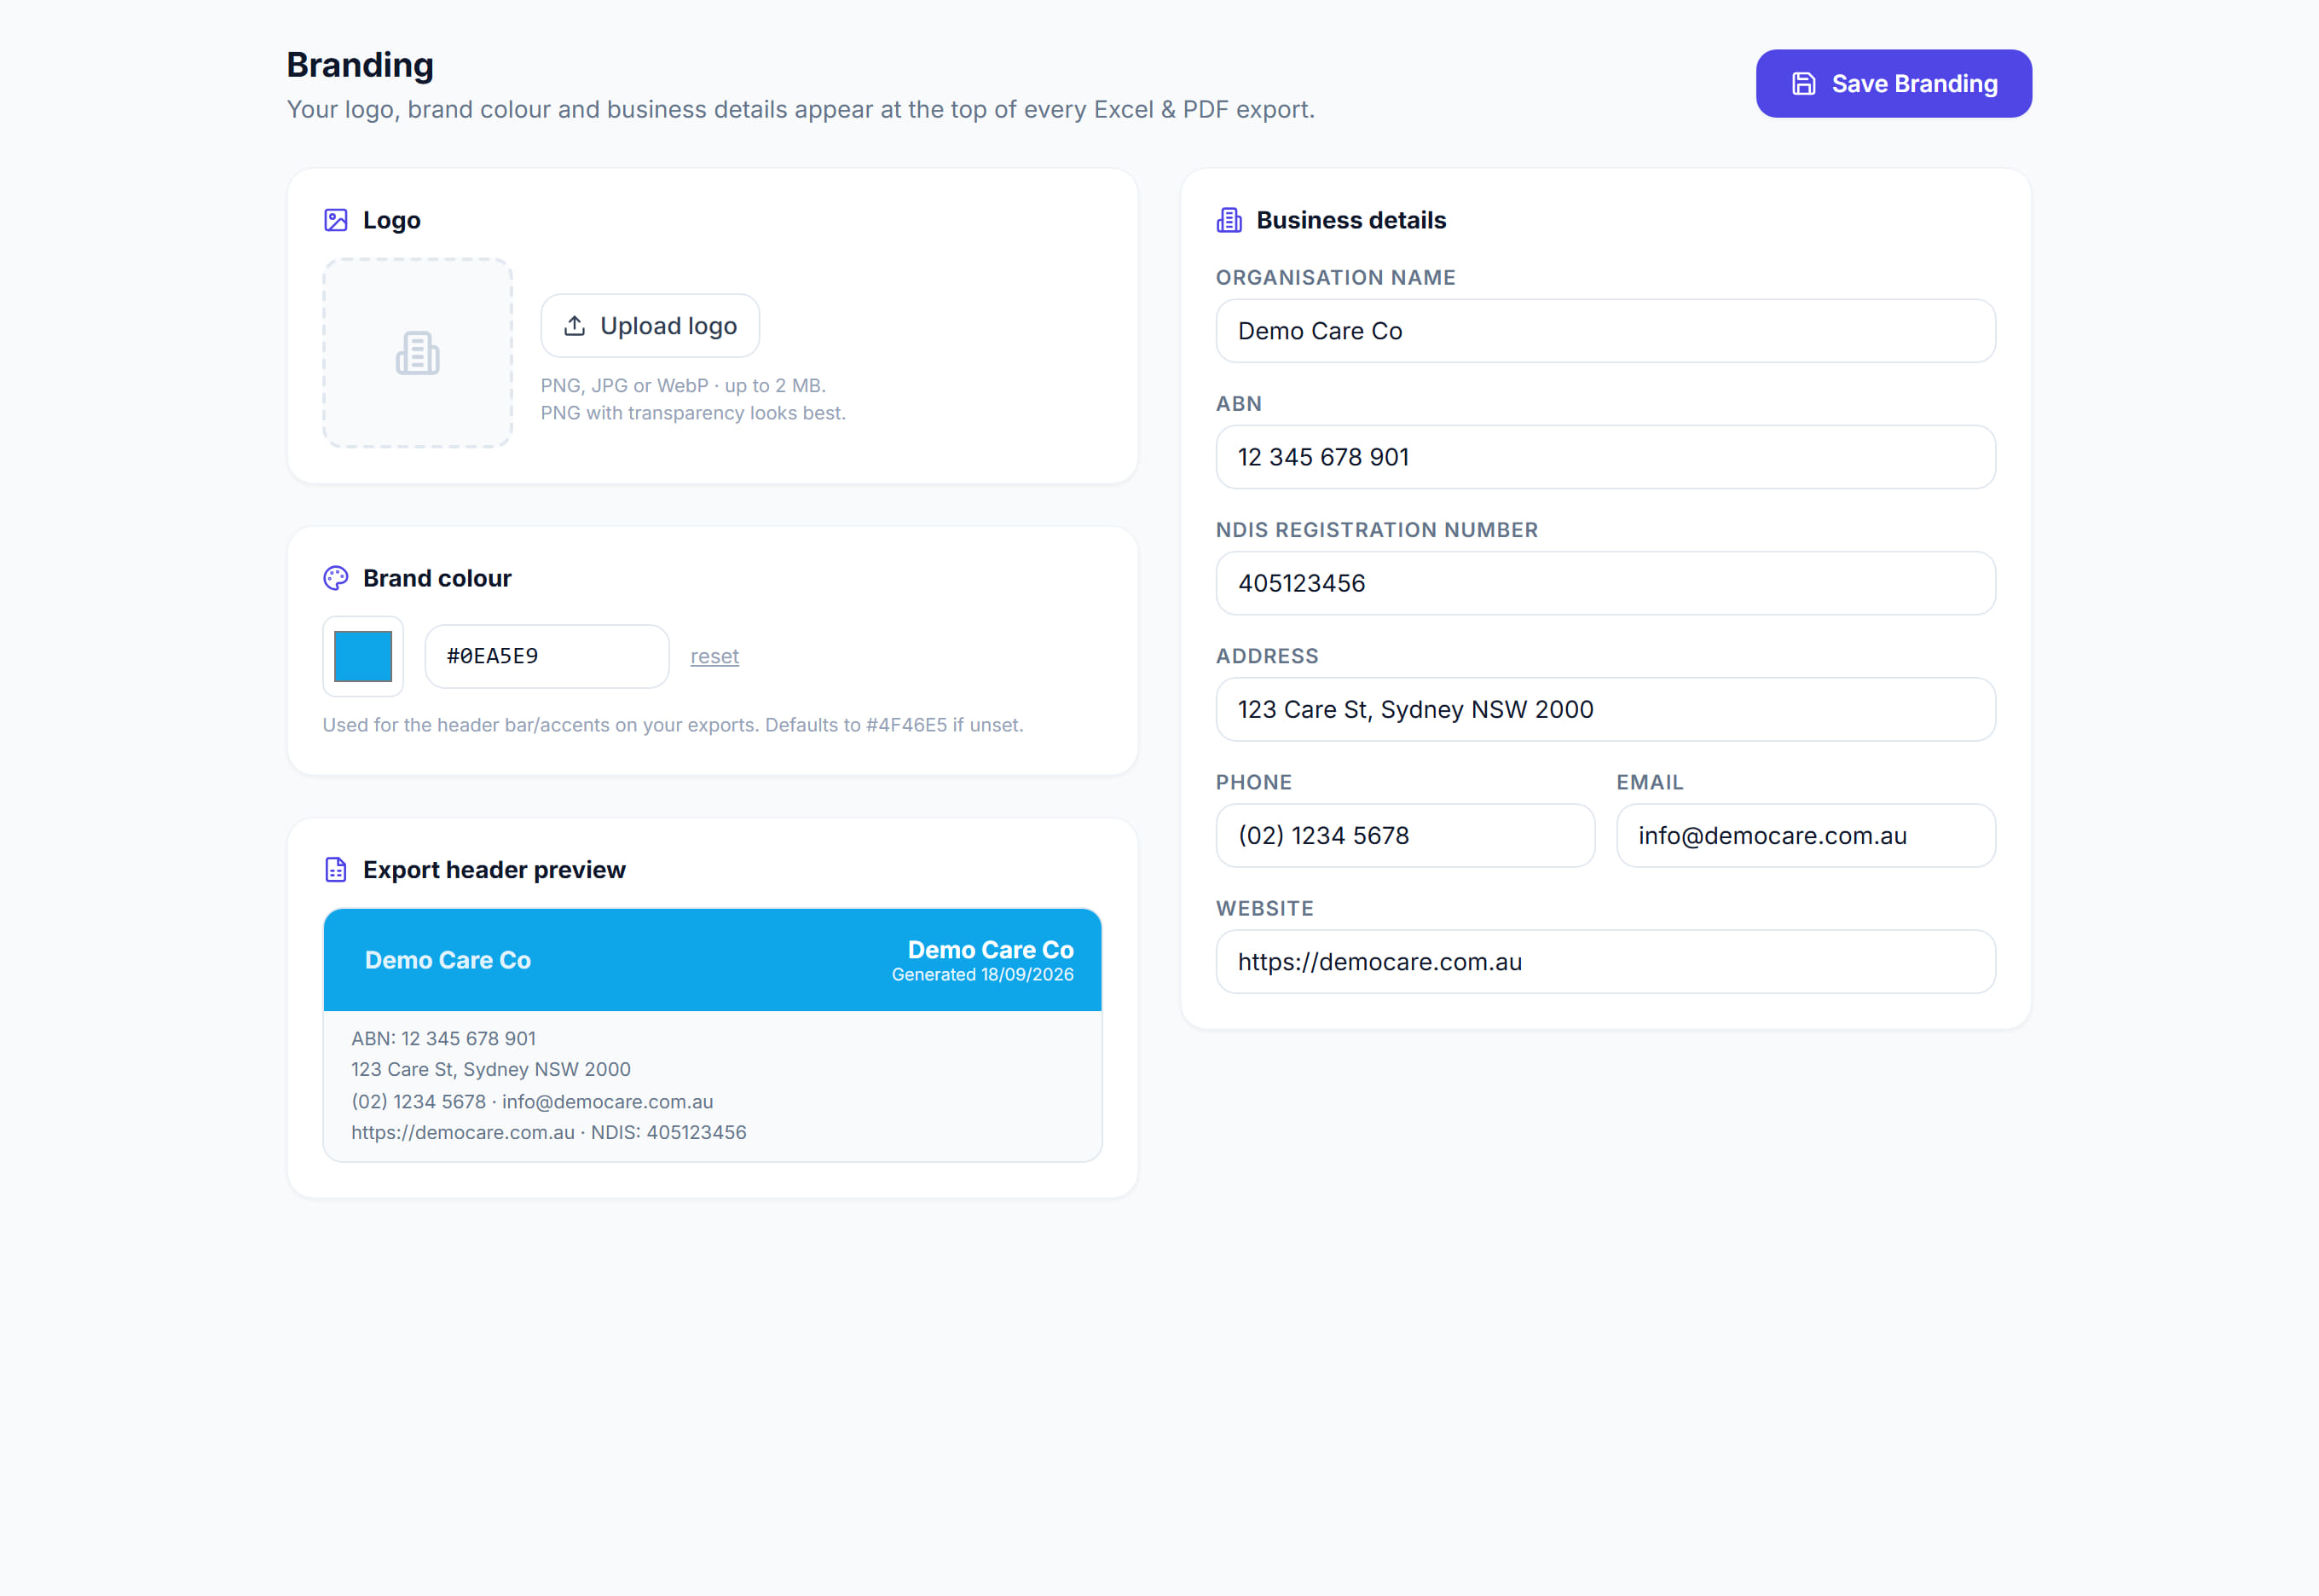
/settings/branding6 stepsYour organisation on paper. The logo, colour and details set here appear at the top of every invoice, payslip, statement and exported report — and the NDIS registration number set here is used when claims are built.
Step by step
- 1
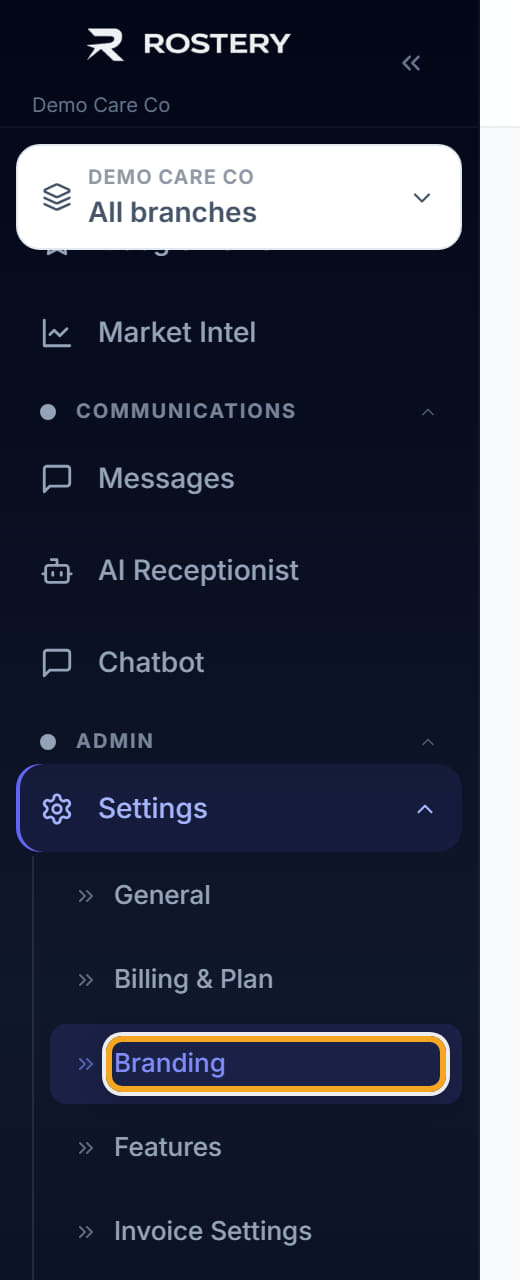
Open Settings, then Branding.
- 2
Upload a logo. It is used on exports as well as on screen, so a clean, reasonably large image is worth the trouble.

- 3
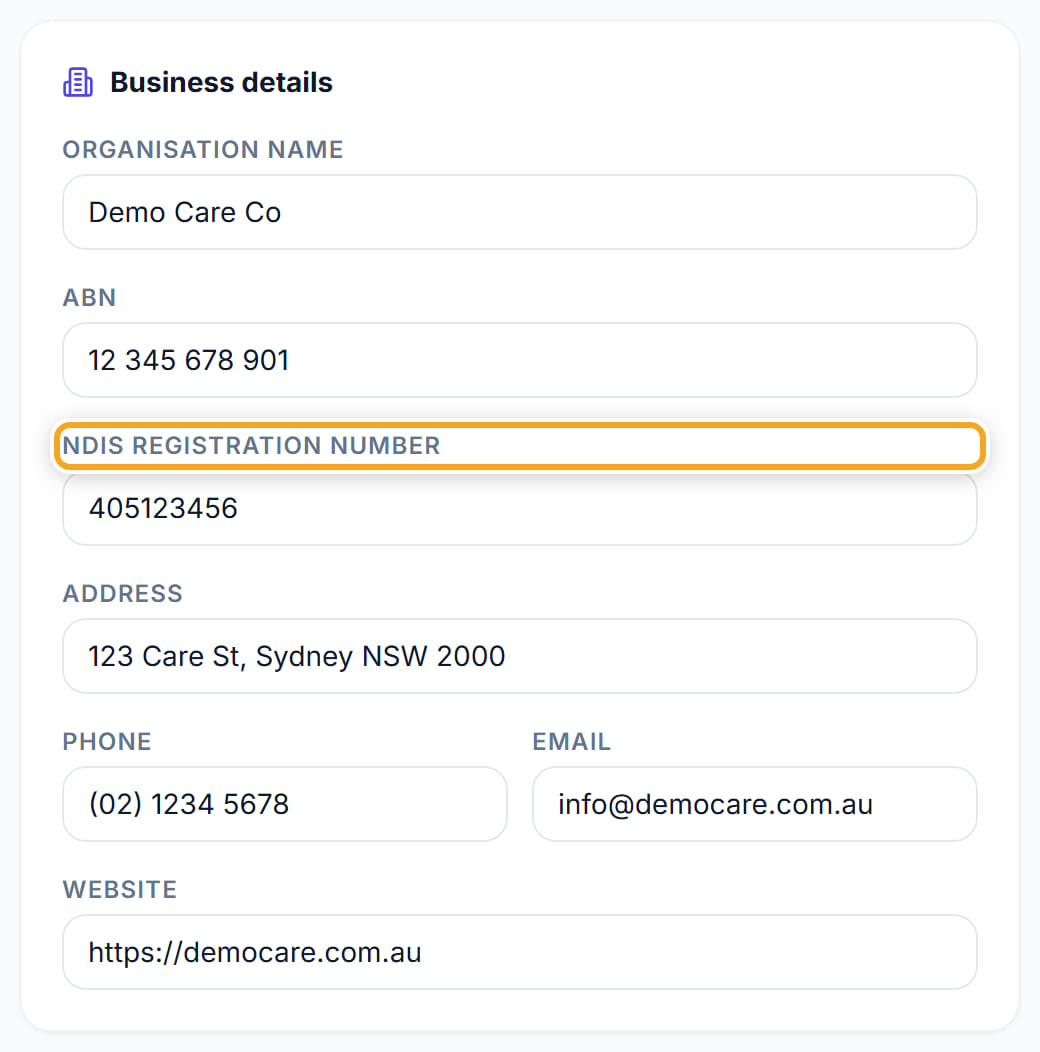
Fill in the Organisation Name, ABN and NDIS Registration Number.
- 4
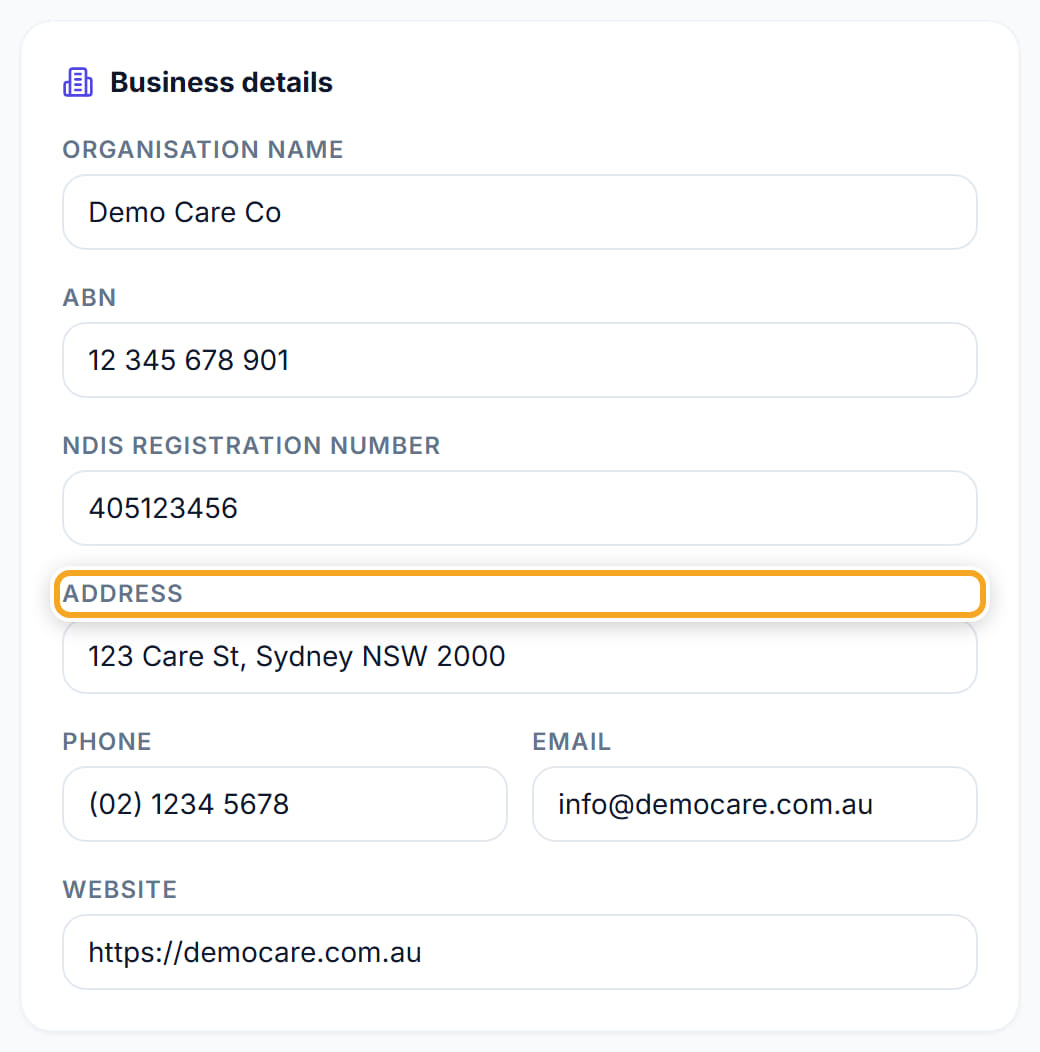
Fill in the Address, Phone, Email and Website — these appear on documents people receive.
- 5
Click Save Branding.

- 6
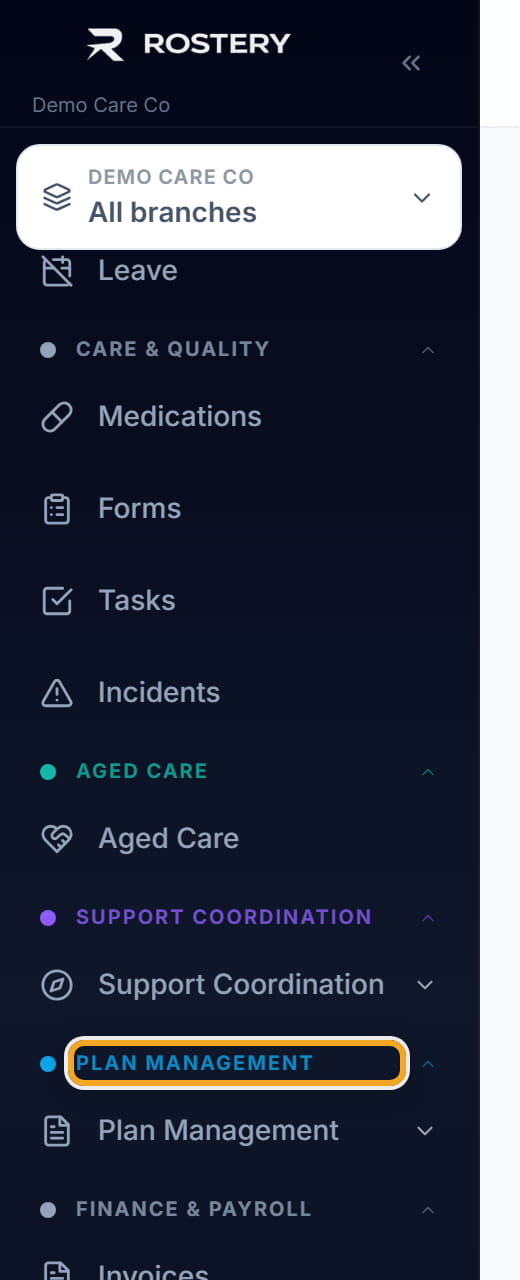
Check the NDIS Registration Number carefully: claim files are rejected by the NDIA when it is wrong, and Plan Management settings can override what is set here.
The screen
Did this answer your question?
If not, talk to us — we answer from Australia, in business hours.