
Admin & Settings
Settings — where everything is configured
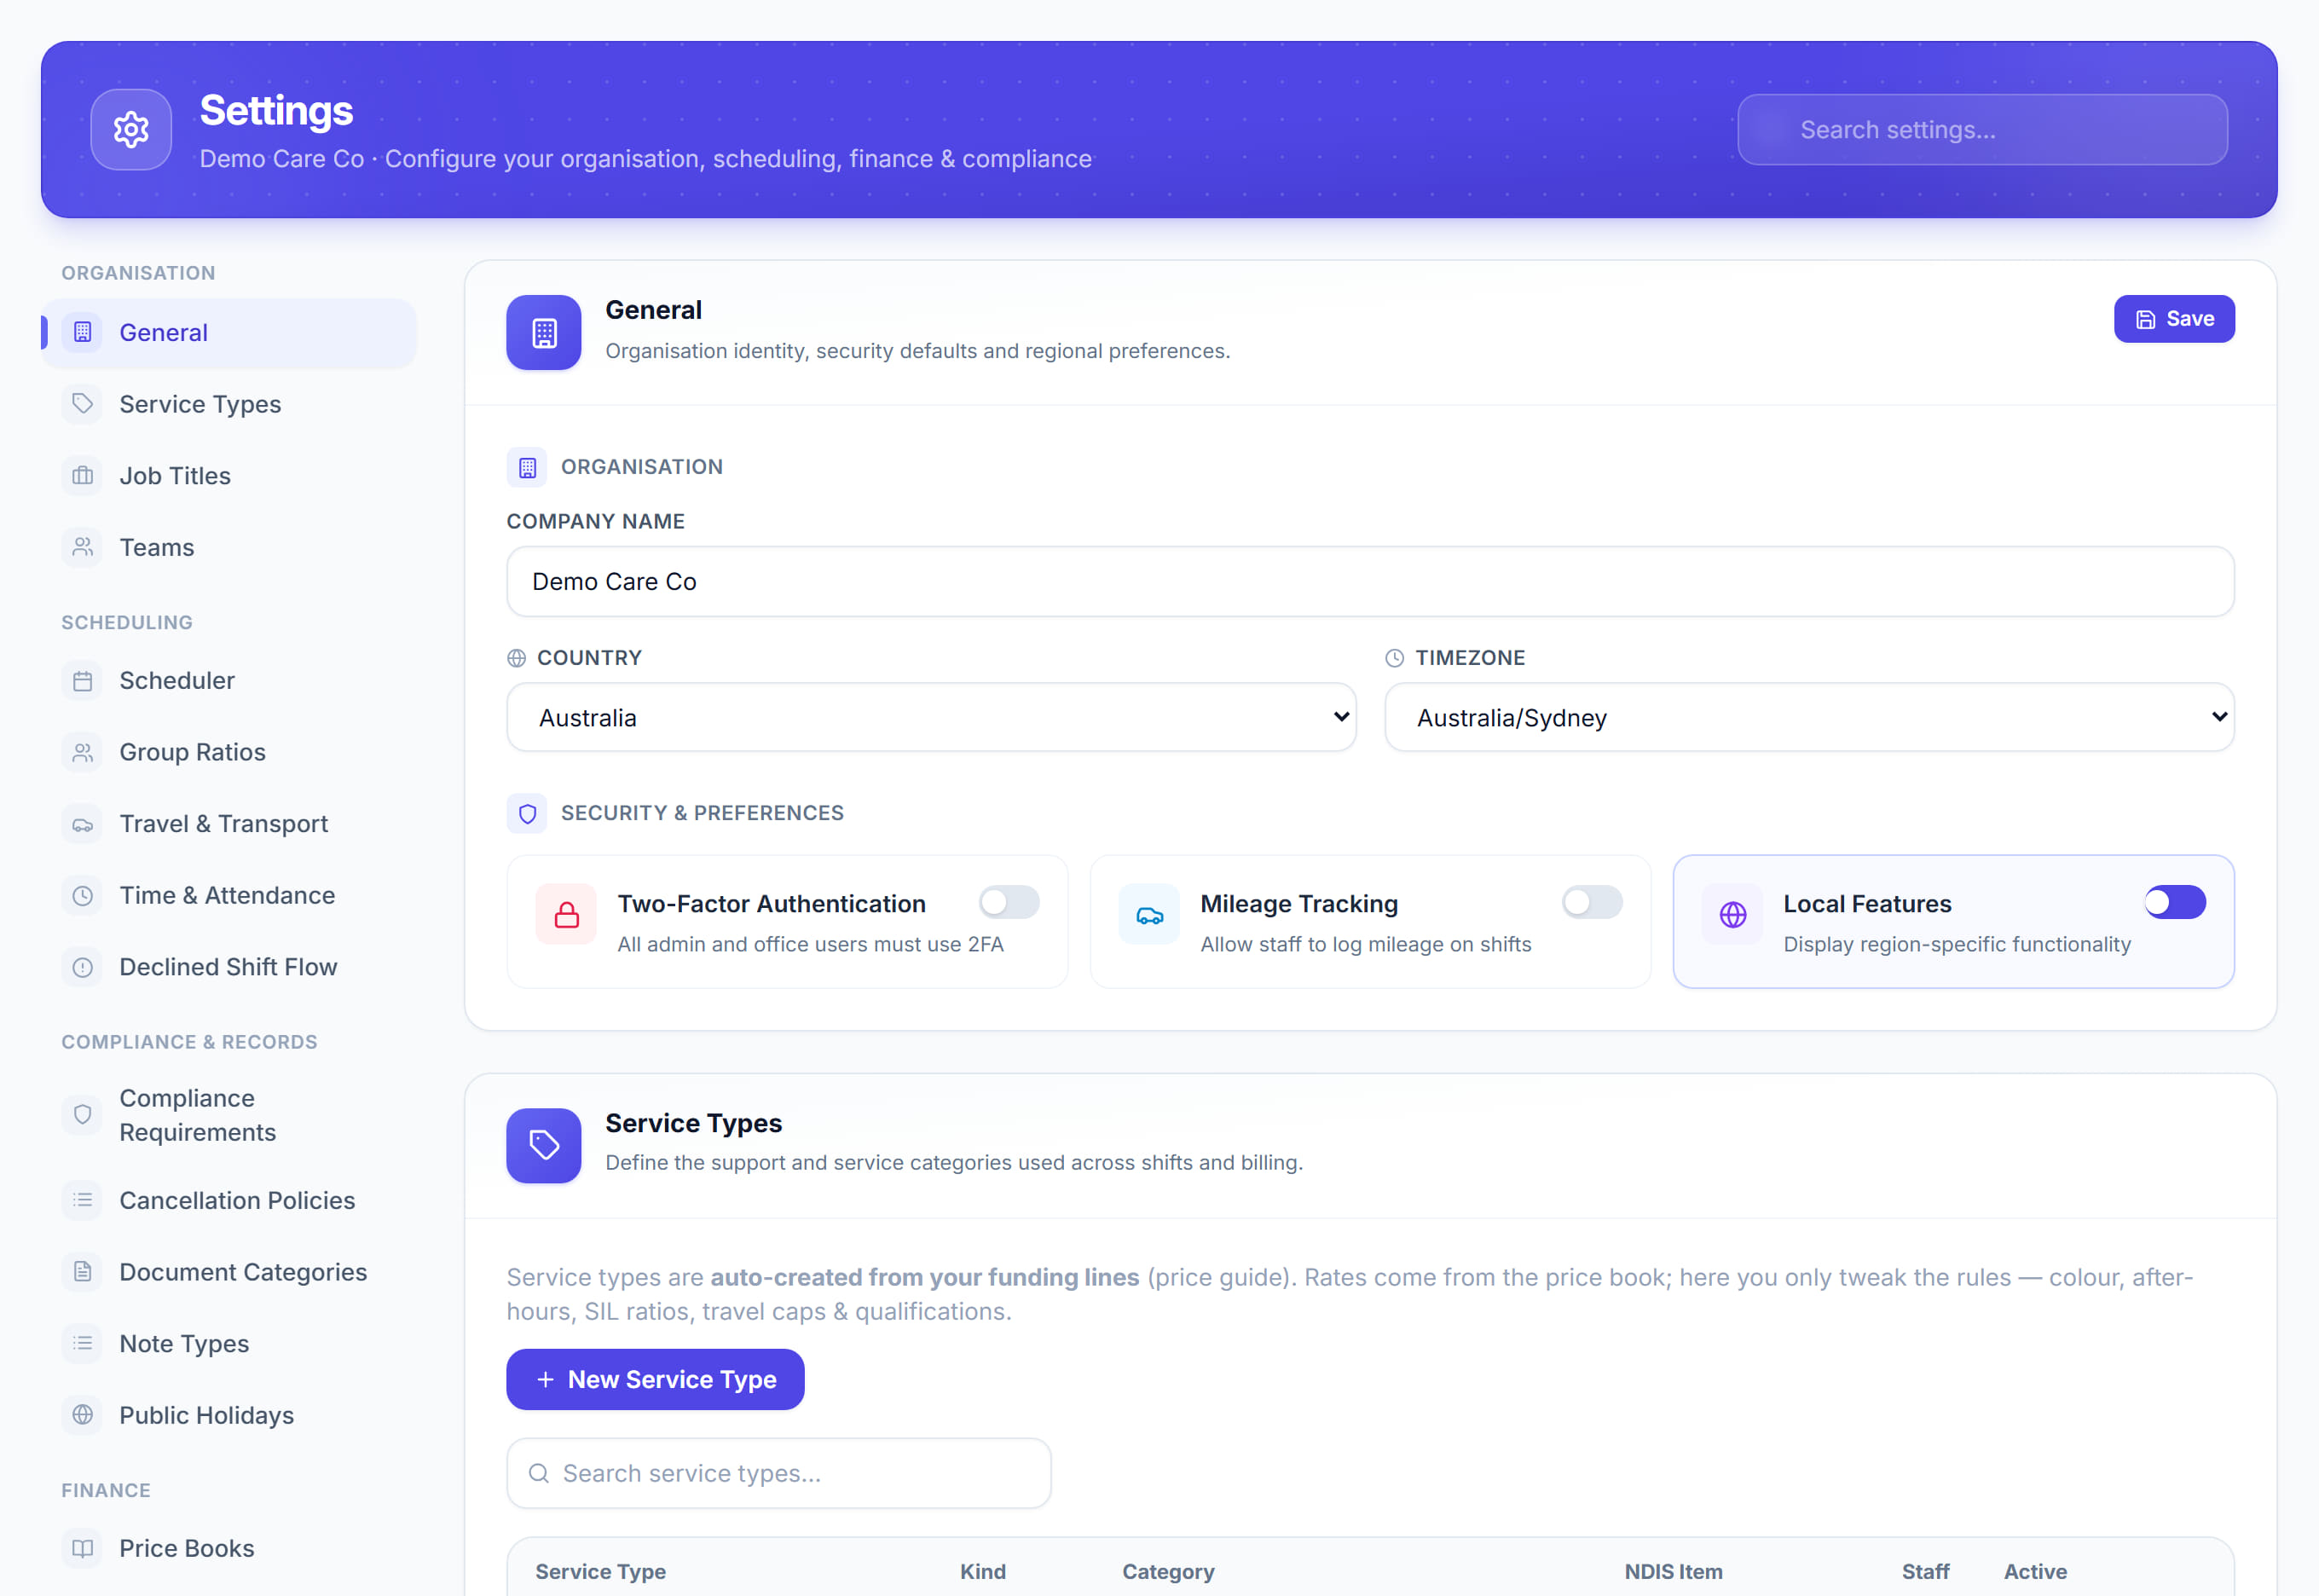
/settings4 stepsOne page with nineteen tabs across the top, holding almost everything about how Rostery behaves for your organisation: General, Service Types, Job Titles, Teams, Scheduler, Group Ratios, Travel & Transport, Time & Attendance, Declined Shift Flow, Compliance Requirements, Cancellation Policies, Document Categories, Note Types, Public Holidays, Price Books, Financial Config, Integrations, Notifications and Security & MFA.
Step by step
- 1
Click Settings at the foot of the left menu.

- 2
Pick the tab for what you want to change. The tabs run left to right roughly in the order a new organisation needs them.
- 3
Change what you need and click Save. Each tab saves on its own — you do not have to work through the whole page.
- 4
Anything that is a whole screen of its own — Price Books, Pay Groups, Allowances, Invoice Settings, Branding, Roles, Locations, Feature Settings — opens from the left menu under Settings rather than as a tab here.
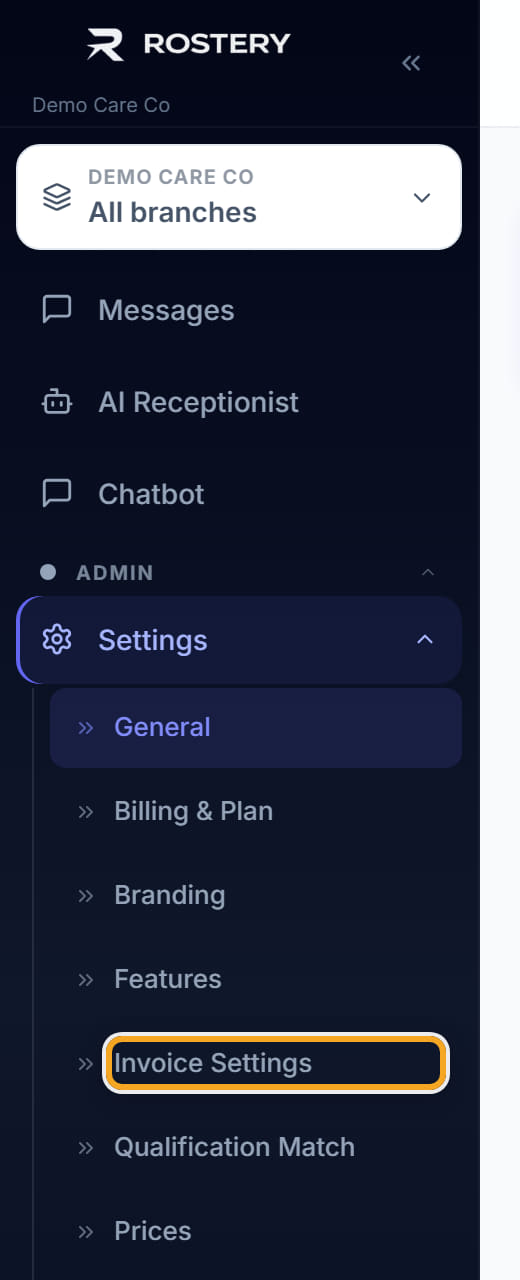
The screen
Did this answer your question?
If not, talk to us — we answer from Australia, in business hours.