
Scheduling
Add a shift
Creating one shift, from the empty grid to a published booking the worker can see on their phone. Everything downstream — the timesheet, the pay, the invoice, the claim — comes from this record, so it is worth getting the service and the times right at the point of creation.
Step by step
- 1
Click Add Shift at the top right of the board. You can also click any empty cell in the grid, which opens the same form with that day and row already filled in.

- 2
Pick the participant.
- 3
Pick the funded service. The list shows what is left in each funding category — "NDIS Core Supports — $32,135 left" — so you can see before you book whether the money is there.
- 4
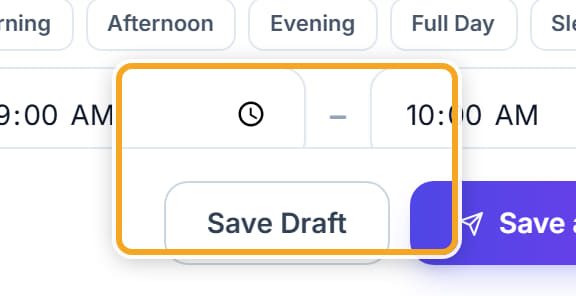
Set the date and the start and finish times.
- 5
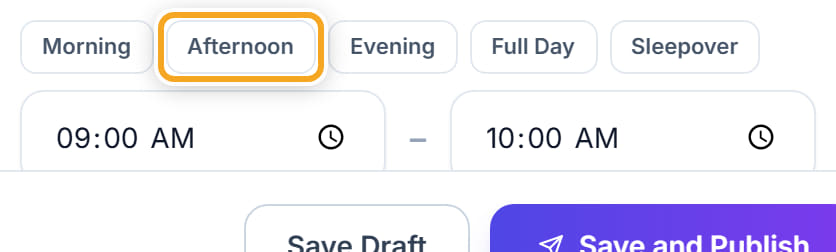
Or use a preset instead: Morning, Afternoon, Evening, Full Day and Sleepover fill the times for you. Sleepover is the one to use for an overnight, because it is paid differently.
- 6
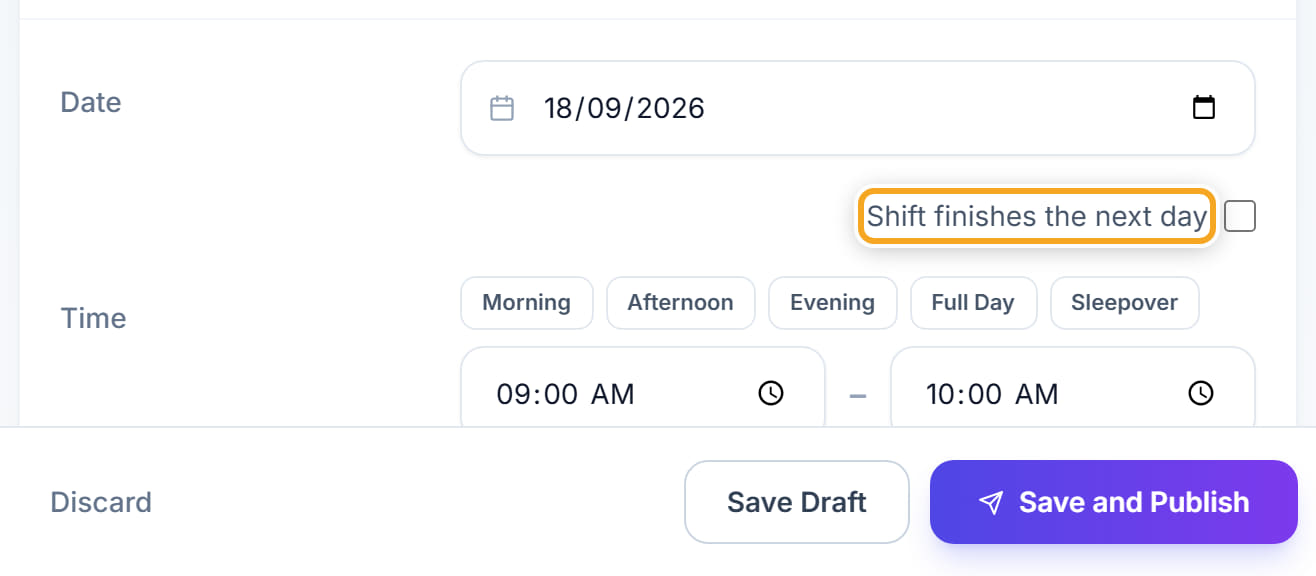
Tick Shift finishes the next day if it runs past midnight. Without it the shift is an hour long instead of ten, and the penalty rates are wrong.
- 7
Assign the worker, or leave it empty and fill it later — see Allocate a worker to a shift.
- 8
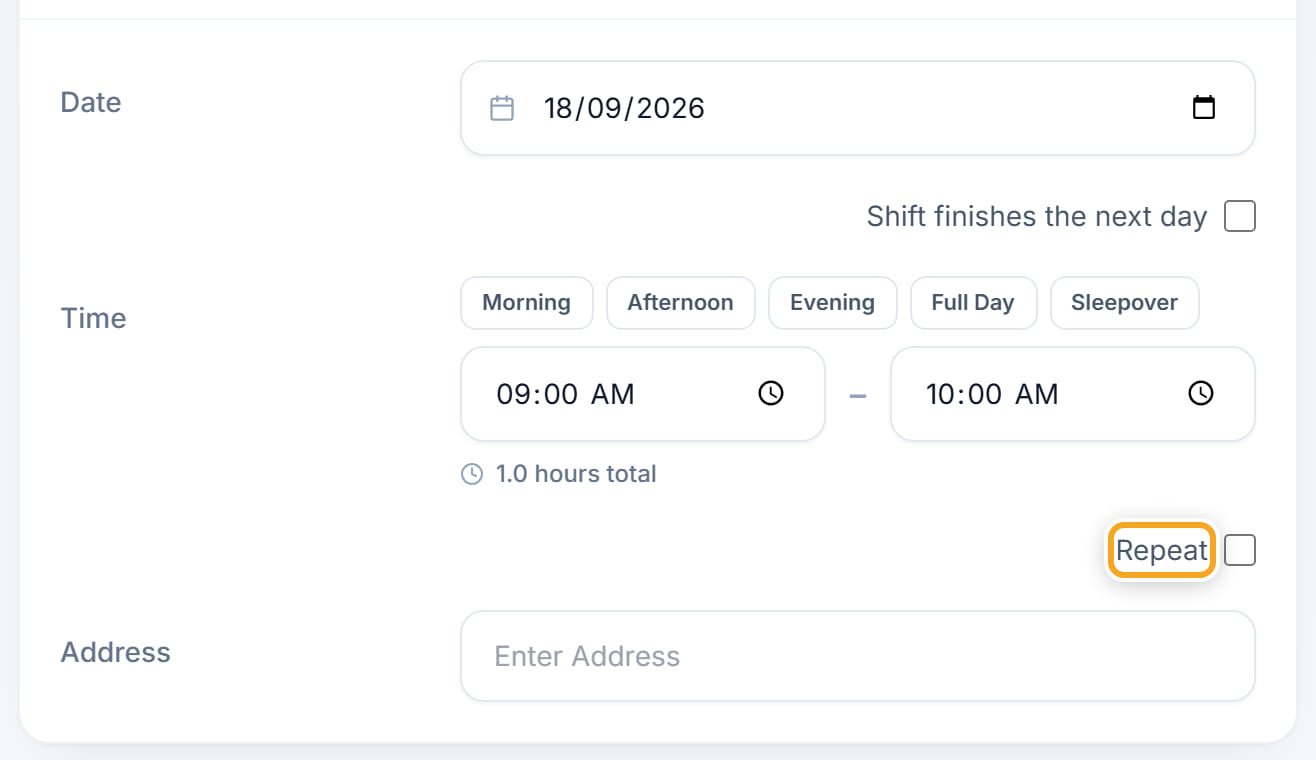
Use Repeat if this is a regular booking, and set how often and until when. One entry then creates the whole run.
- 9
Tick Add to Job Board to offer the shift to any qualified worker rather than assigning it yourself.

- 10
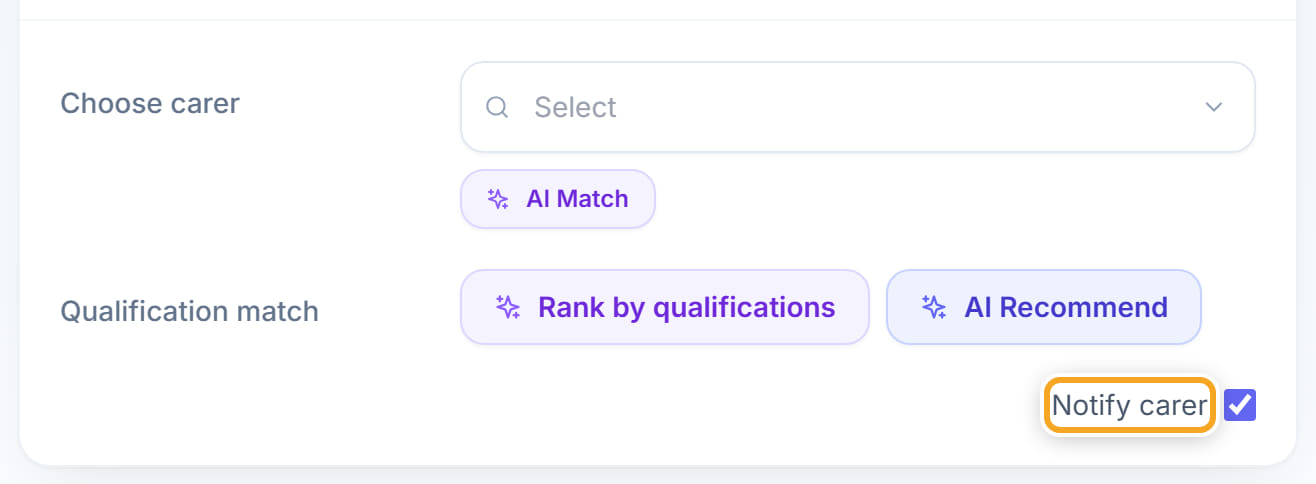
Tick Notify carer if you want the worker told as soon as it is published.
- 11
Click Save and Publish. The worker can now see it. Save Draft keeps it hidden while you finish building the week.

Did this answer your question?
If not, talk to us — we answer from Australia, in business hours.