
Plan Management
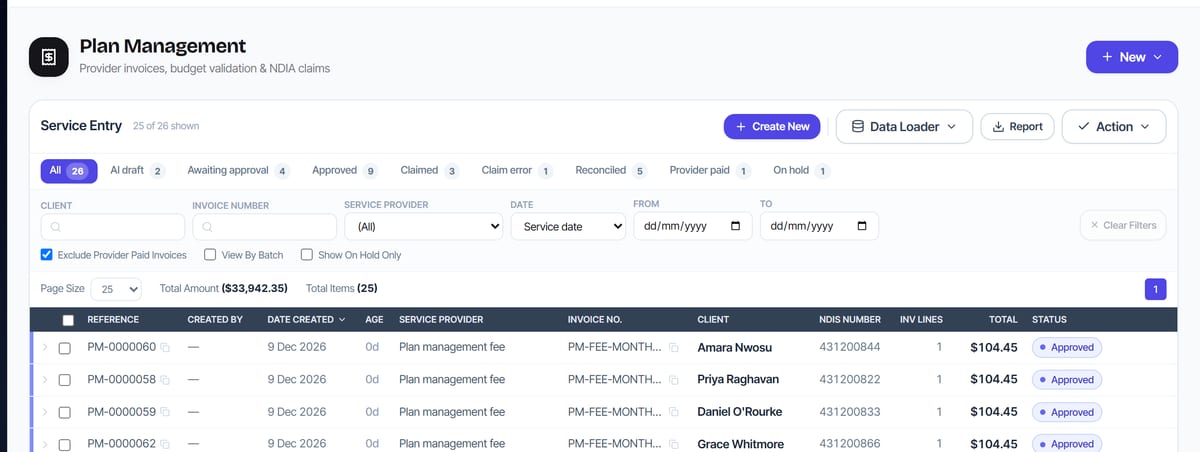
Service Entry
/plan-management?view=service-entry6 stepsWhere a provider’s invoice becomes claimable lines. What is entered here is what the NDIA eventually receives, so it is the most consequential data entry in plan management.
Step by step
- 1
Enter the invoice against the participant and the provider, with the provider’s own invoice number and date.
- 2
Add one line per support delivered. Each line needs the support item number, the service dates, the quantity or hours, and the unit price.
- 3
Check the unit price against the NDIS price limit. Rostery checks it for you and refuses a fee above the limit unless you deliberately override — a line above the limit is the commonest cause of a capped or rejected claim.
- 4
Get the support item number right. It is column five of the claim file and a wrong item is rejected by the NDIA rather than paid.
- 5
Attach the provider’s invoice as evidence. The missing-evidence report exists precisely because this step gets skipped.
- 6
Save, then check the validation panel on the invoice. It runs the same rules the claim file will apply, so anything it flags now is something the NDIA would have refused later.
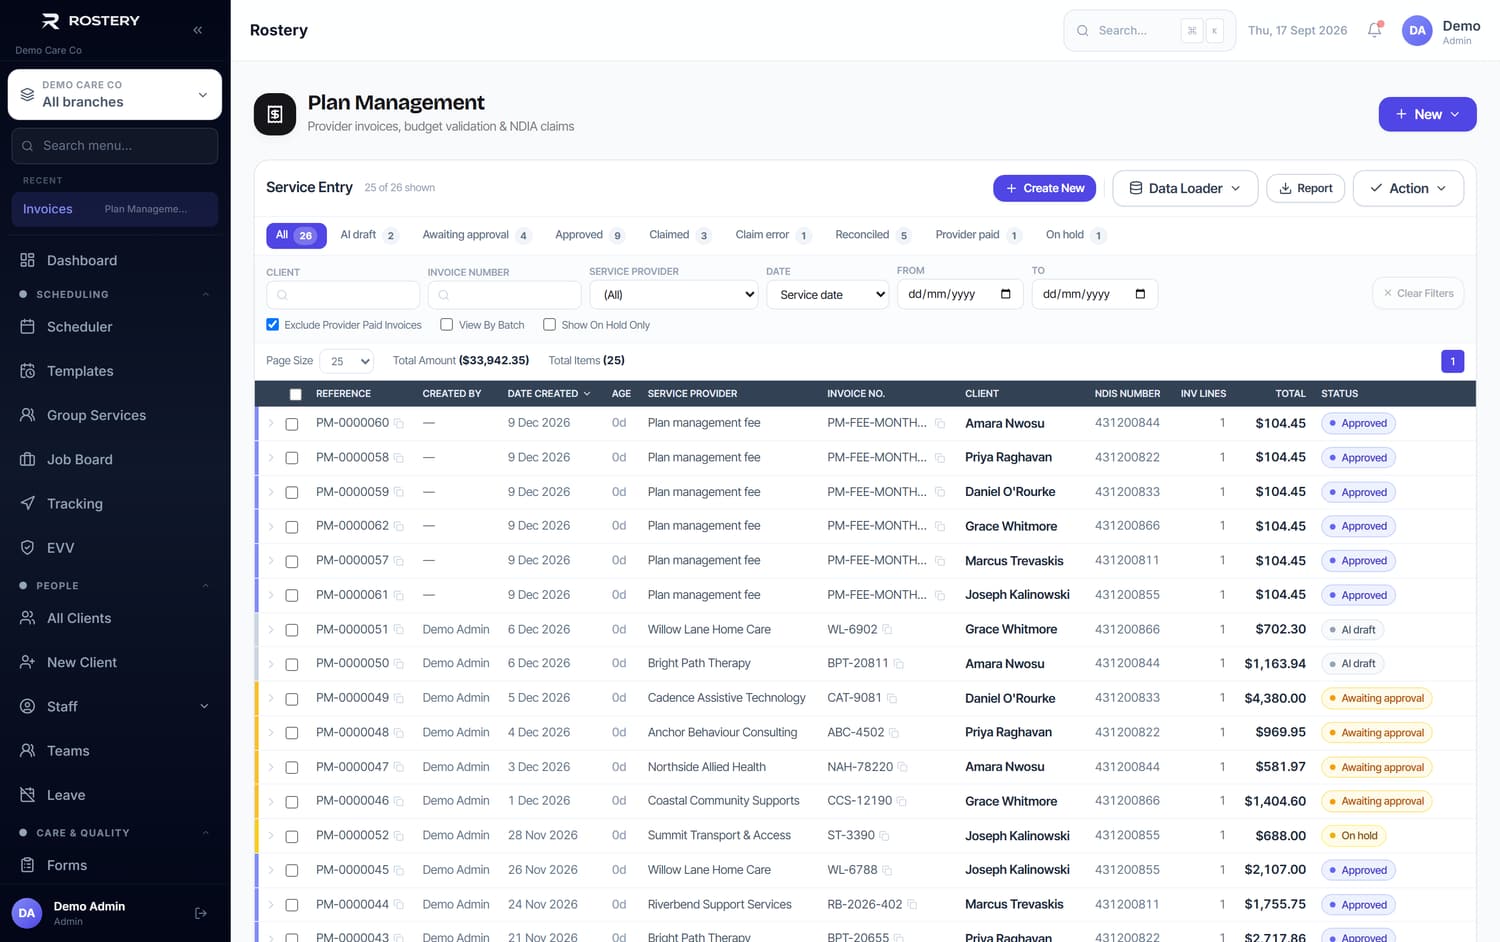
The screen
Did this answer your question?
If not, talk to us — we answer from Australia, in business hours.