
Plan Management
NDIA Claims
/plan-management?view=claims7 stepsClaim batches, and the bulk-upload file you give the NDIA. This is the step that turns approved invoices into money.
Step by step
- 1
Before your first claim, set your Organisation ID in NDIA claiming settings — nine digits starting 405. Without it no claim file can be produced at all, and the error arrives weeks after the number was entered.
- 2
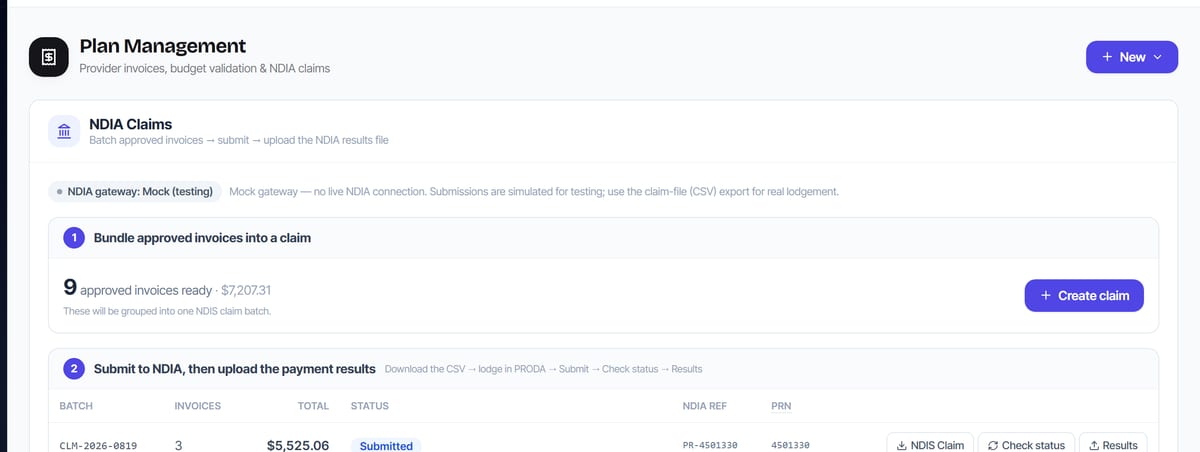
Build a claim from approved invoice lines. Only lines that have passed validation are eligible.
- 3
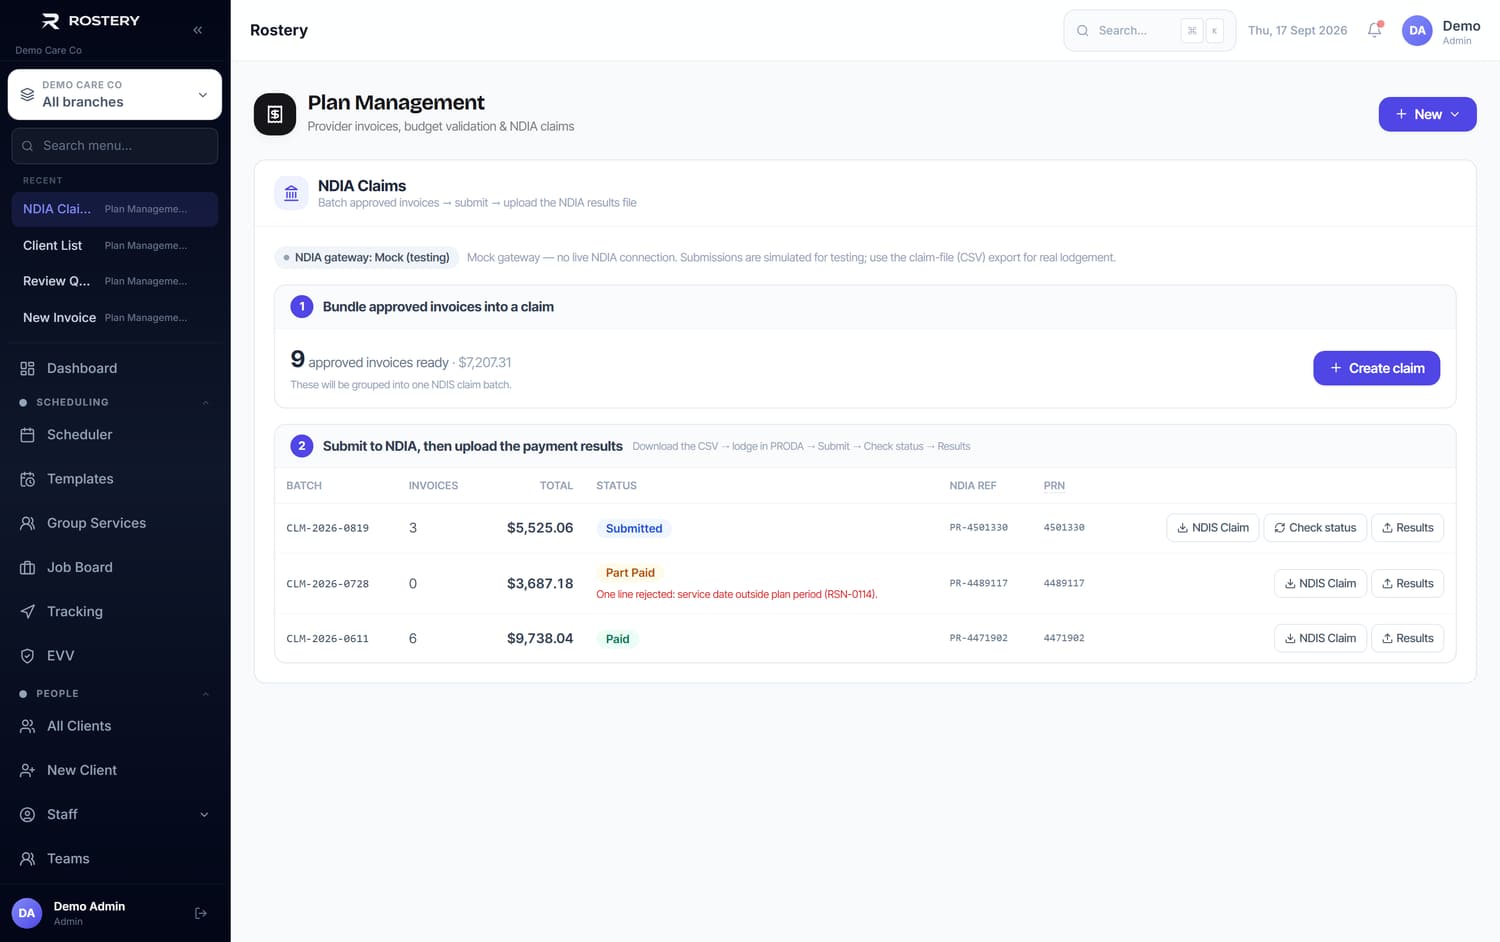
Download the CSV. It is the sixteen-column Appendix A bulk-upload format the NDIA portal expects, with CRLF line endings, and it splits automatically at five thousand rows.
- 4
If the download is refused, read the message: it names the line and the rule it broke. Common causes are a participant NDIS number that does not start 43, a service date in the future, a missing ABN, and a claim reference containing anything but letters and numbers.
- 5
Upload the file to the NDIA portal yourself — Rostery produces the file, it does not submit it.
- 6
Mark the claim submitted once it is lodged, so the reconciliation step knows what to expect back.
- 7
When the NDIA pays, ingest the payment results per line so short payments and rejections are recorded against the lines they belong to rather than the batch as a whole.
The screen
Did this answer your question?
If not, talk to us — we answer from Australia, in business hours.