
How do I…?
Add a new participant
Putting a new participant into Rostery.
Do this
- 1
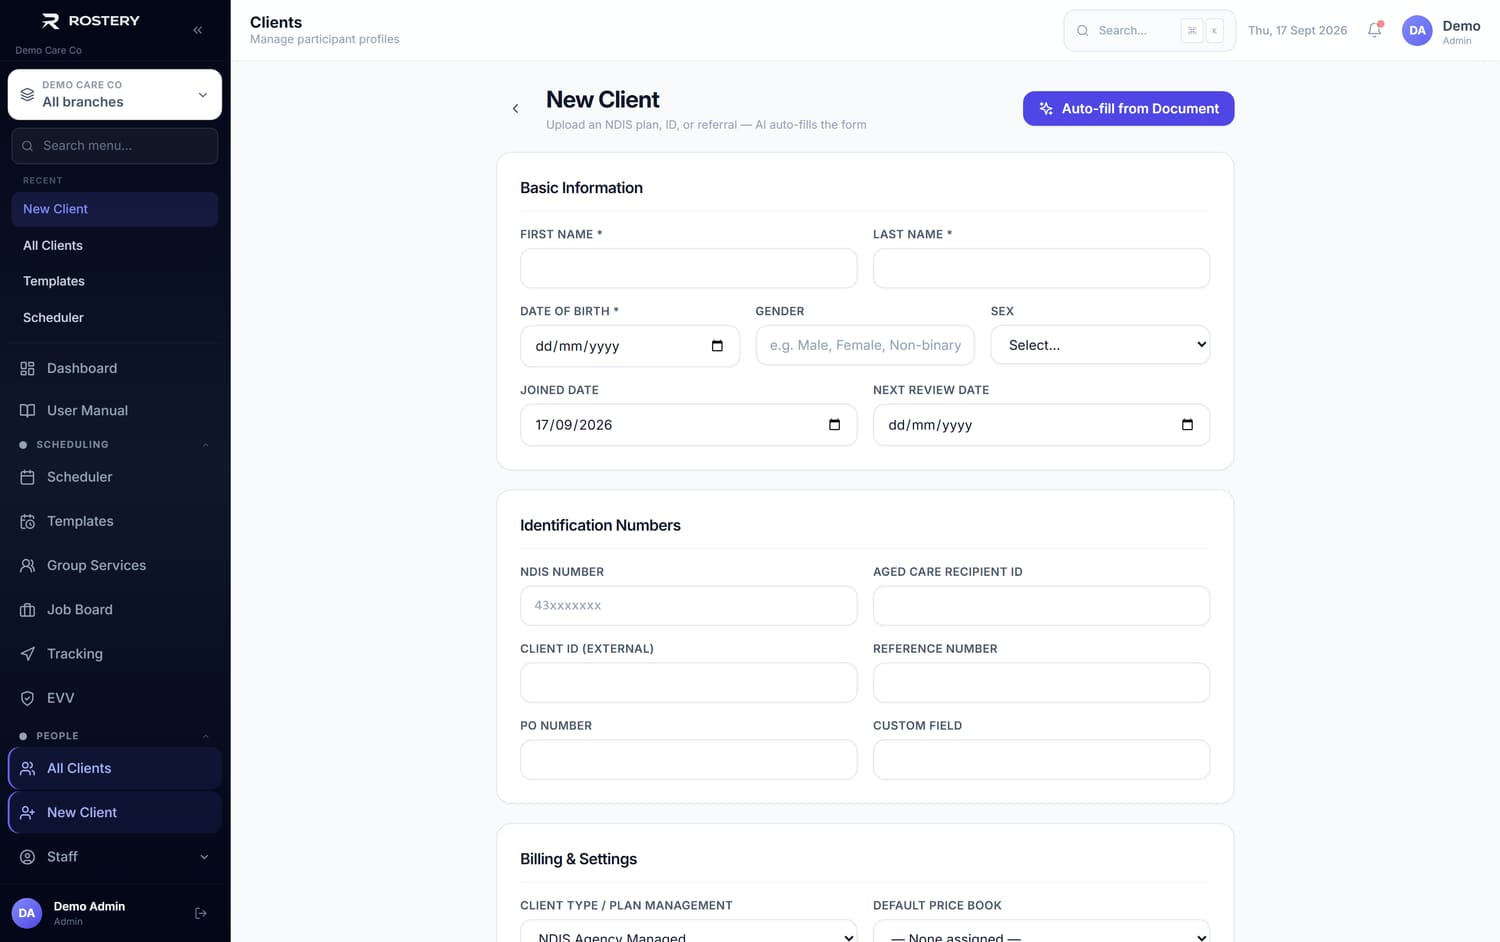
Click Clients in the left menu.
- 2
Click New Client at the top right.

- 3
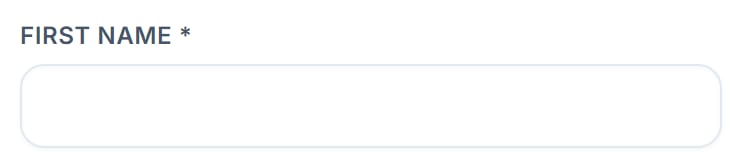
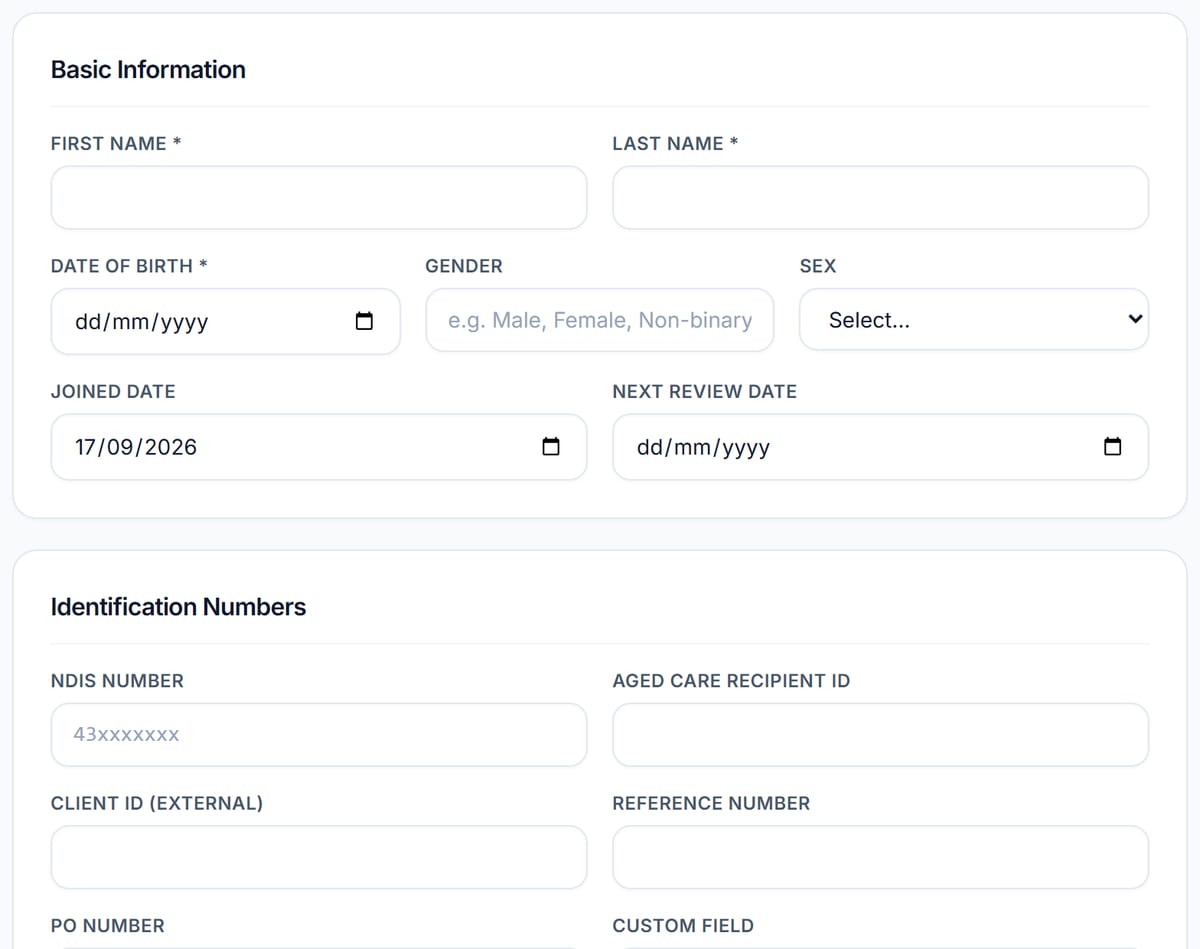
Type their First Name, Last Name and Date of Birth. These three are required.
- 4
Type their NDIS Number.
- 5
Pick the Client Status — usually Active.
- 6
Choose the service type. This is important: pick Plan Management if you are their plan manager, Support Coordination if you are their coordinator, or leave it as general delivery if you provide their supports. Each part of Rostery only shows its own participants, so the wrong choice here means they will not appear where you expect.
- 7
Fill in the address, so travel and rostering work properly.
- 8
Put in the Plan Period Start and Plan Period End dates. Without an end date, Rostery can never warn you the plan is running out.
- 9
Click Save.
- 10
The participant now has a profile. Open it to add everything else.
Did this answer your question?
If not, talk to us — we answer from Australia, in business hours.